15 Kitchen Layout Ideas That Improve How You Cook
 By zarcoyt2025
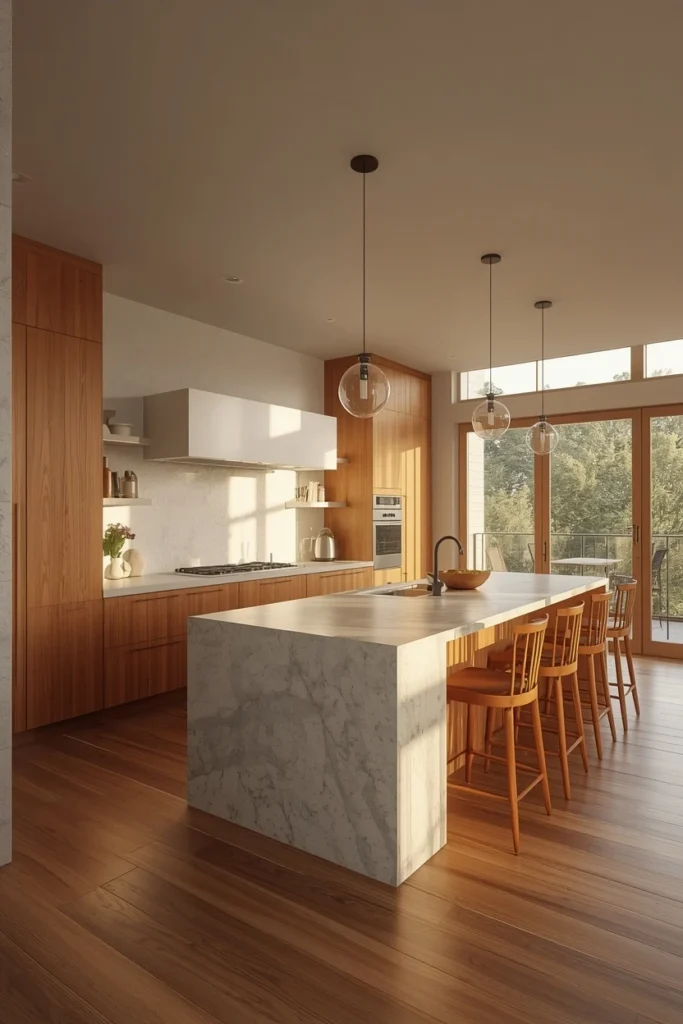
Table of Contents
- 1. Classic Work Triangle Kitchen Layout with an Anchored Sink
- 2. Open-Concept L-Shape with a Breakfast Bar Extension
- 3. Galley Kitchen with a Pass-Through Window
- 4. U-Shape with a Peninsula Instead of an Island
- 5. Single-Wall Kitchen Plan with Vertical Storage
- 6. Double-Island Layout for Entertaining-Heavy Homes
- 7. Broken-U Layout with a Strategic Doorway Gap
- 8. L-Shape Kitchen Layout with an Island Prep Zone
- 9. Parallel Galley with a Central Dining Runway
- 10. G-Shape Kitchen Wrapping Three-and-a-Half Walls
- 11. Compact One-Wall with a Fold-Down Extension
- 12. Horseshoe Layout with a Built-In Banquette Nook
- 13. Open Kitchen Layout Flowing Into a Living Dining Zone
- 14. T-Shape Island for Multi-Cook Kitchen Plans
- 15. Corridor Kitchen with Pocket Doors at Both Ends
- Where I’d Start if I Only Did Three Things
- Frequently Asked Questions
- Final Thoughts
Most kitchen layout ideas start with a shape — L, U, galley — and then try to squeeze your life into that geometry. That approach is backwards. A layout should start with how you actually move through a kitchen: where you set the groceries, how far the fridge is from the prep surface, whether two people can work side by side without colliding. When the floor plan follows your cooking habits instead of an arbitrary template, even a small kitchen can outperform a large one that was designed around aesthetics alone.
I have cooked in kitchens that looked spectacular in photos but were miserable to use because the designer prioritized the sight line from the living room over the distance between the stove and the sink. The layouts below are organized by function first and form second, with real measurements and zone logic that you can test against your own daily routine before committing to a renovation plan.
1. Classic Work Triangle Kitchen Layout with an Anchored Sink
The work triangle — sink, stove, refrigerator placed at three points — remains one of the most reliable kitchen layout ideas because it minimizes the steps between the three most-used stations. Anchor the sink on the longest wall, ideally beneath a window, and position the stove and fridge on adjacent walls or at opposite ends of a counter run so no single leg of the triangle exceeds nine feet. This arrangement keeps wet tasks, hot tasks, and cold storage separated while keeping them all within a few strides.
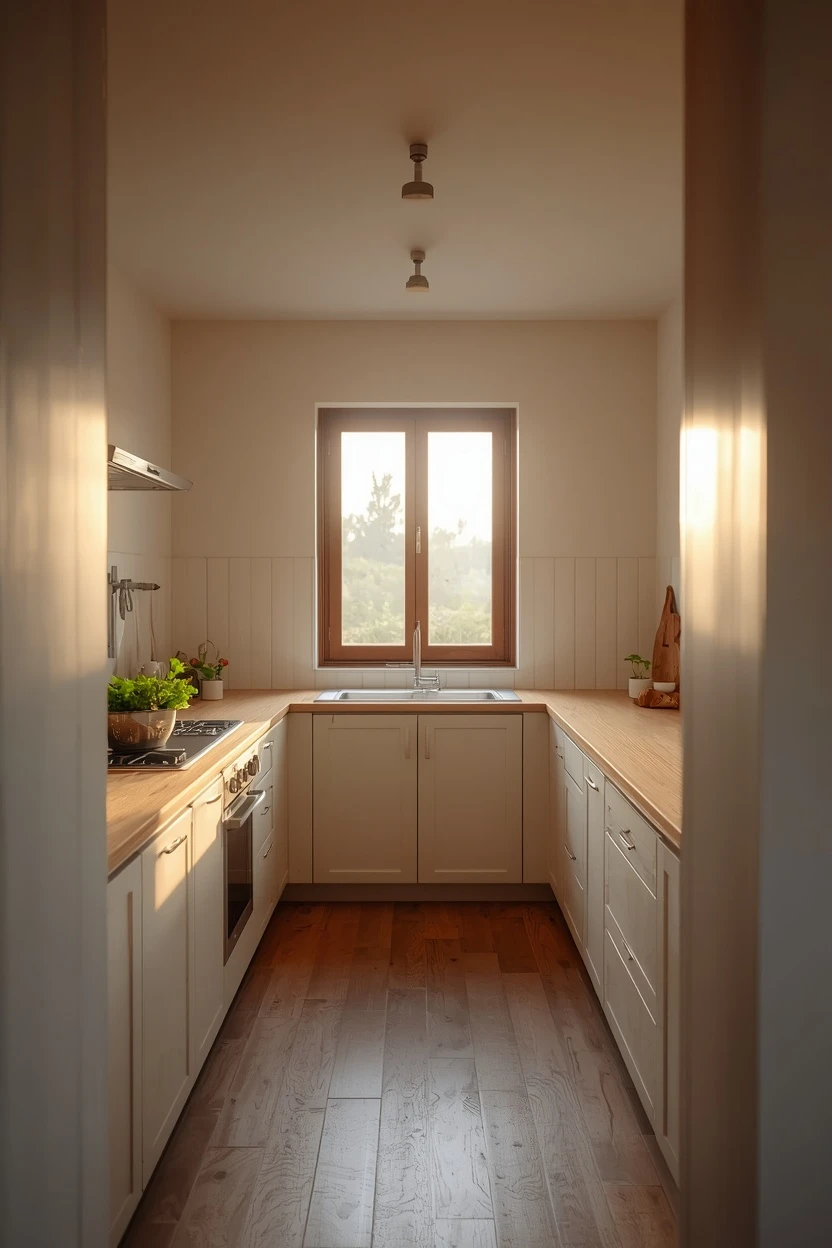
The layout suits rectangular rooms between 80 and 150 square feet where a full island is not possible. One caveat: the classic triangle assumes a single cook, so if two people regularly prepare meals together, consider breaking the triangle into two overlapping zones instead.
2. Open-Concept L-Shape with a Breakfast Bar Extension
An L-shaped counter with one arm extending into a breakfast bar creates a natural divider between the kitchen and an adjacent living or dining zone without closing off the sightline. The longer arm of the L handles cooking and prep, while the shorter arm or the bar extension becomes a casual eating and conversation spot.
Keep the bar overhang at least 12 inches deep so stools can tuck underneath comfortably. This layout thrives in apartments and smaller homes where a separate dining room is not an option.
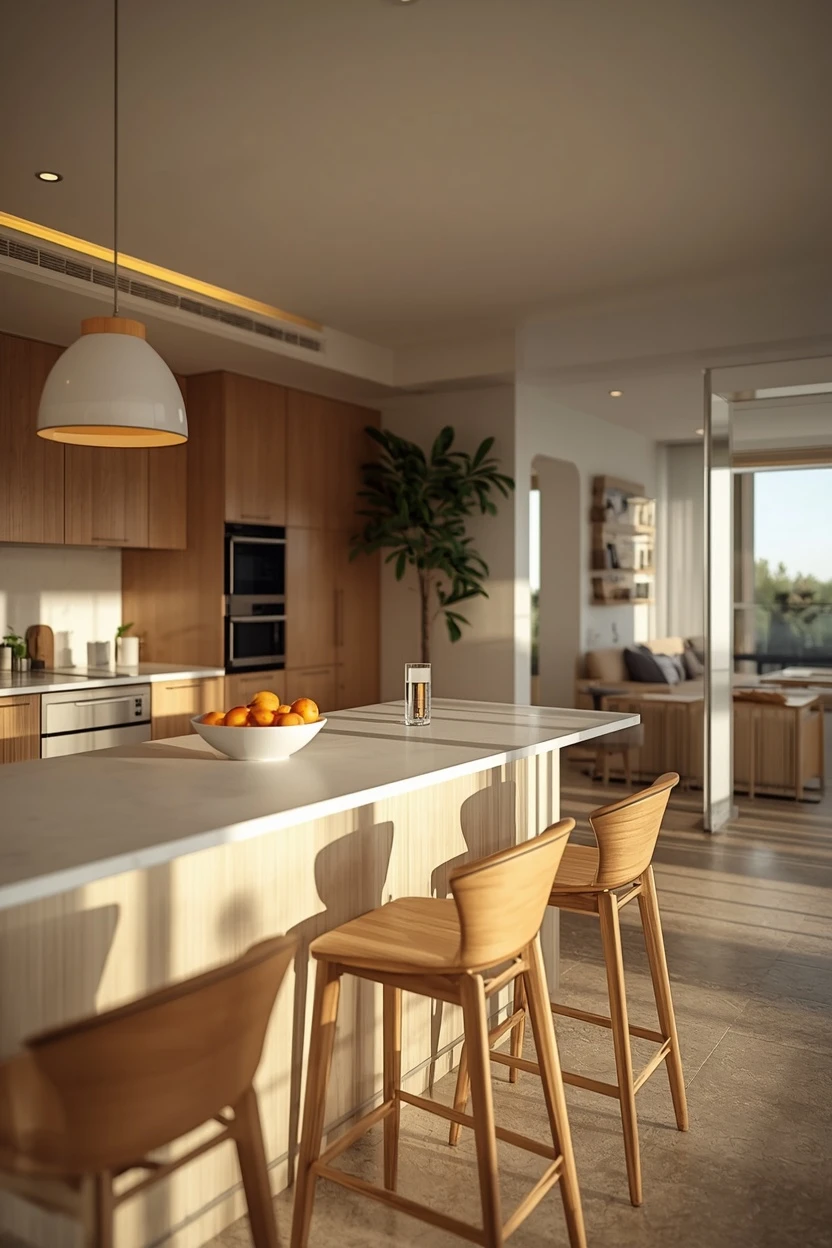
Size the L so the two arms together provide at least 15 linear feet of counter space — anything less starts to crowd the prep area once small appliances are out.
3. Galley Kitchen with a Pass-Through Window
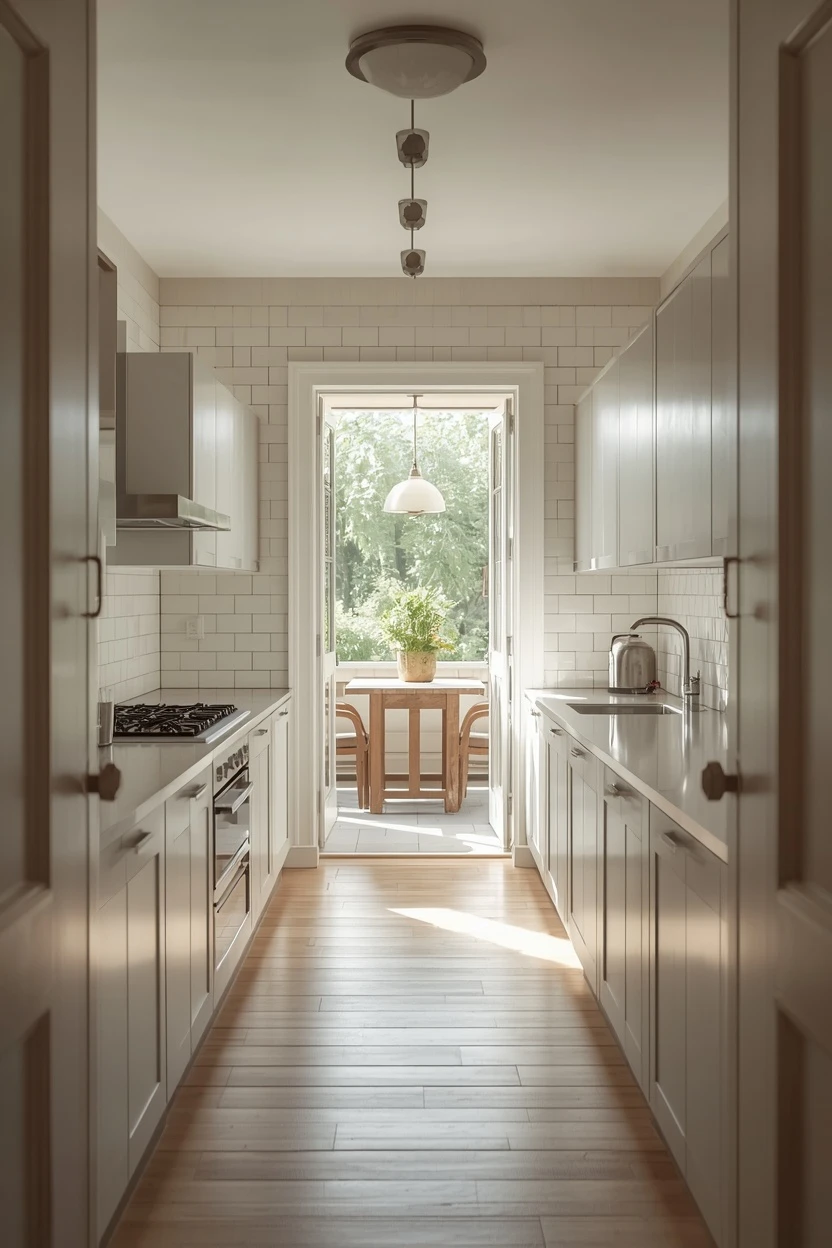
A galley layout puts two parallel counter runs on facing walls, and adding a pass-through window or opening at one end connects the galley to the next room without removing the full wall. The pass-through acts as a serving counter, a conversation window, and a source of borrowed light all at once. Keep the galley corridor at least 42 inches wide — 48 is better if two people cook together — so you can open lower cabinet doors and the oven without blocking the walkway. Place the sink and stove on one wall and the fridge and storage on the opposite wall so your primary workflow stays on one side. The galley is the most space-efficient layout per square foot and is a proven performer in professional restaurant kitchens for exactly that reason.
4. U-Shape with a Peninsula Instead of an Island
A U-shaped kitchen wraps counters along three walls and provides the most storage and counter space of any standard layout. Replacing the open fourth side with a peninsula rather than a freestanding island saves floor space and creates a natural boundary between the kitchen and an adjacent room. The peninsula can house a secondary sink, a dishwasher, or simply more prep surface depending on what your workflow demands. Keep each arm of the U at least five feet long to avoid a cramped turning radius at the corners.
The downside is that a U-shape can trap a single cook — adding a second entry path on one side, even a narrow gap, prevents the boxed-in sensation during busy meal prep.
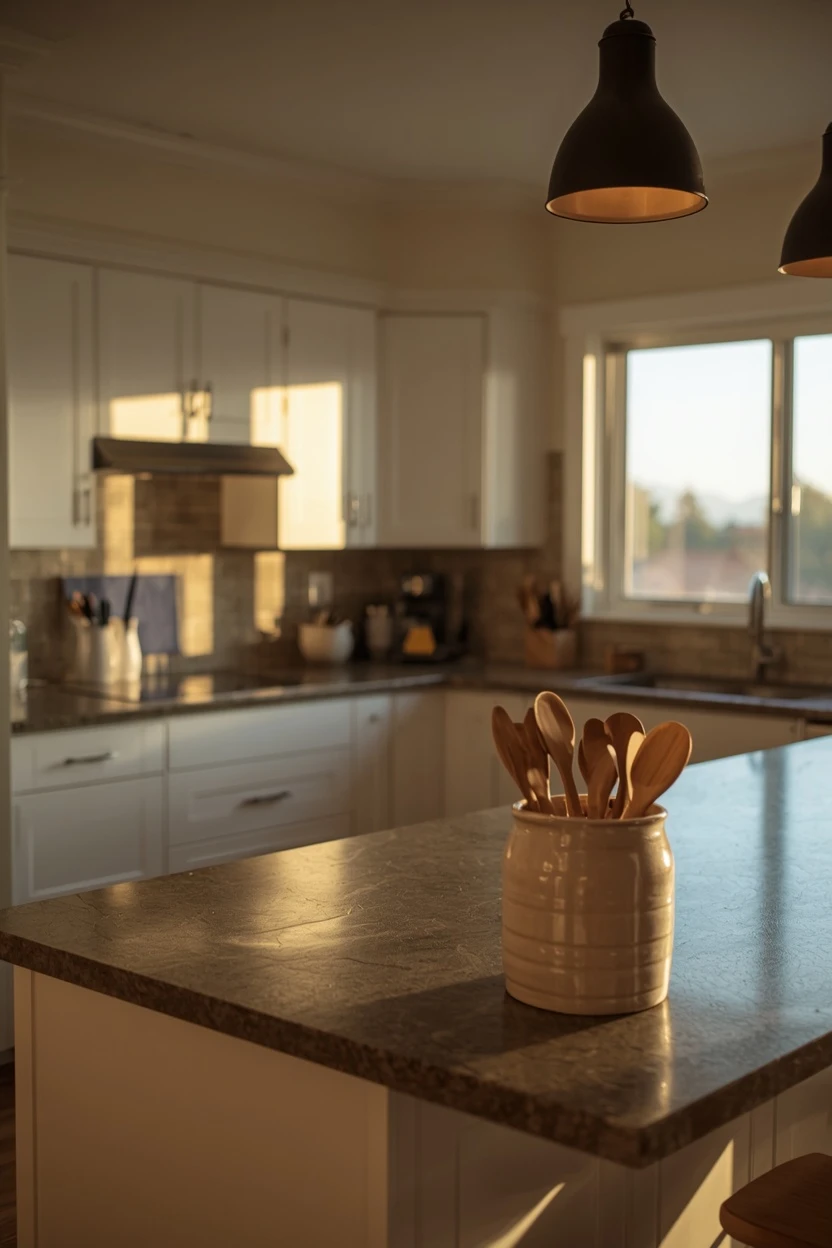
5. Single-Wall Kitchen Plan with Vertical Storage
A single-wall kitchen lines everything — sink, stove, fridge, and storage — along one wall, making it the most compact kitchen plan ideas option for studio apartments, tiny homes, and converted spaces. The trick to making it functional rather than cramped is building upward: floor-to-ceiling cabinets or open shelving on the same wall give you the storage volume that a second wall of counters would normally provide. Add a slim rolling cart that parks at the end of the counter when not in use and pulls out as a mobile prep island when you need the surface.
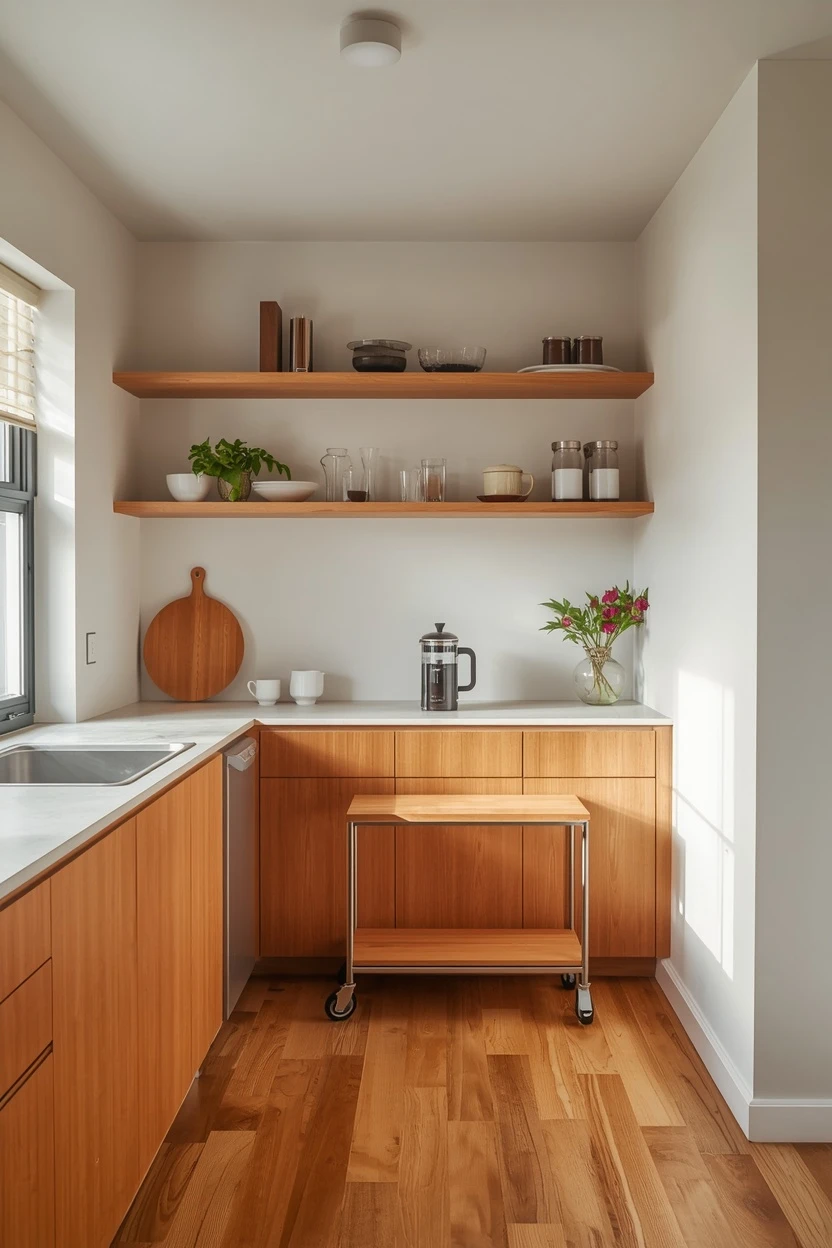
Keep the sink centered between the stove and fridge to balance the workflow, and allow at least 18 inches of landing space on each side of the range for pot handles and plating.
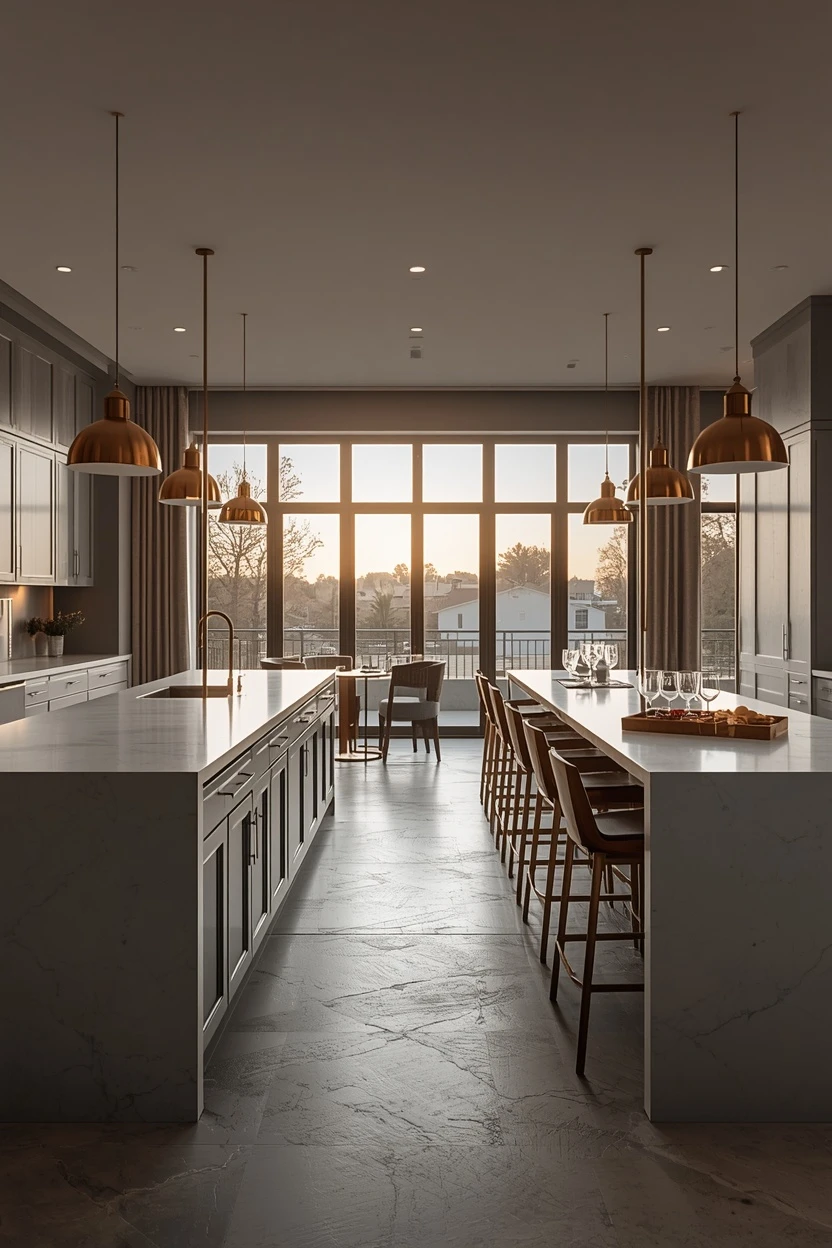
6. Double-Island Layout for Entertaining-Heavy Homes
Two parallel islands in a large kitchen separate the cooking zone from the socializing zone without relying on a wall or a peninsula to do the dividing. The primary island houses the sink or cooktop and serves as the active work surface, while the secondary island — often slightly smaller — handles bar seating, appetizer staging, and drink service during gatherings. Leave at least 48 inches of clearance between the two islands and between each island and the surrounding counters so traffic flows in multiple directions without bottlenecks. This layout requires a room at least 16 feet wide to function comfortably, so it suits large open-plan kitchens and renovated spaces rather than standard suburban footprints. The payoff is that the cook and the guests can occupy the same room without being on top of each other.
7. Broken-U Layout with a Strategic Doorway Gap
A broken-U layout is a standard U-shape with a gap in one arm where a doorway or a hallway passage cuts through. Rather than fighting this interruption, smart design turns it into an advantage by using the gap as a defined entry point that prevents the enclosed U from trapping the cook.
Position the fridge nearest the gap so groceries enter the workflow immediately, then run the counter sequence toward the sink and stove along the remaining walls. The broken arm typically loses three to four feet of counter, so compensate with a deeper counter on the opposite arm — 30 inches instead of the standard 25 — to recover some prep surface.
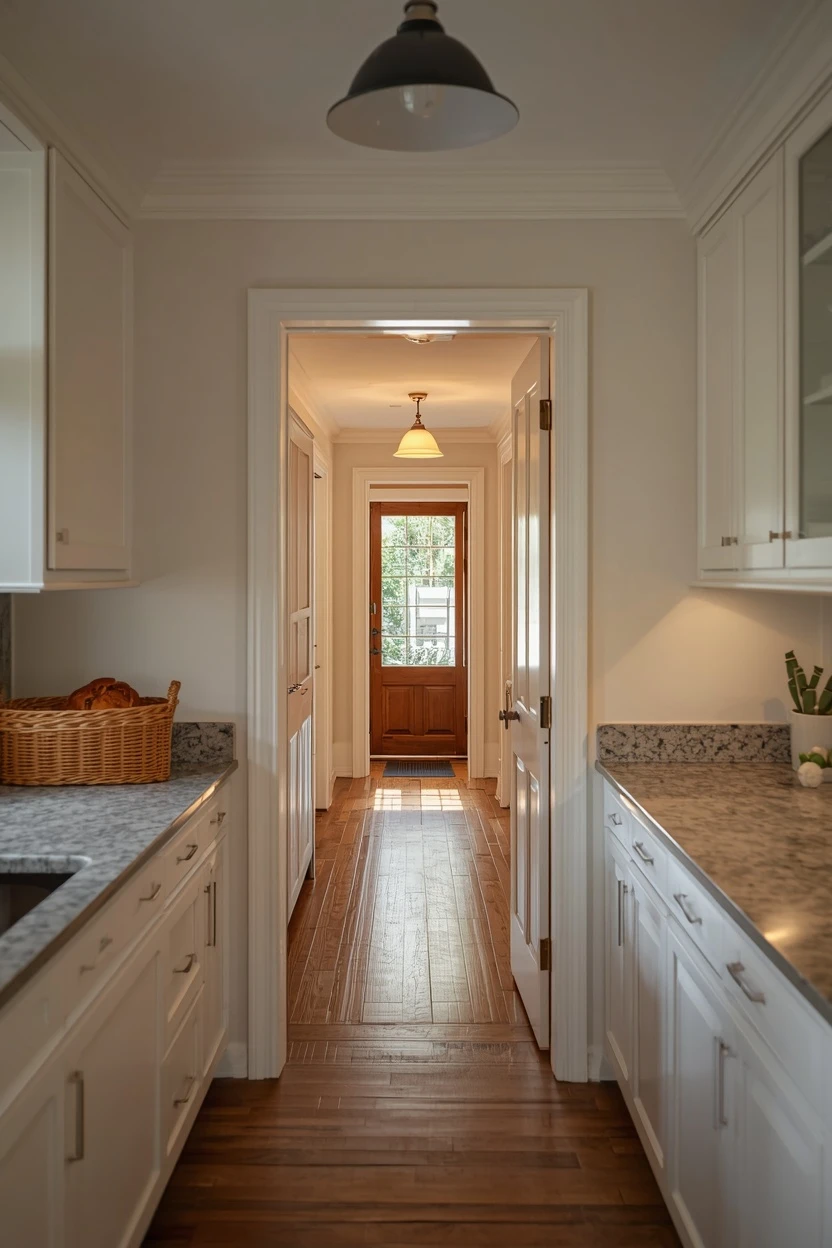
This layout appears frequently in older homes where the kitchen sits between a hallway and a dining room with fixed door openings.
8. L-Shape Kitchen Layout with an Island Prep Zone
Adding a freestanding island to an L-shaped perimeter counter creates a kitchen that separates cooking from prep in a way that the L alone cannot. The perimeter L handles the stove, oven, and sink while the island becomes a dedicated chopping, mixing, and assembly station with its own cutting-board surface or a recessed butcher-block inset. This dedicated split prevents the traffic jam that happens when the cook is at the stove and someone else needs the counter next to it. Size the island so there is at least 36 inches of clearance on all sides — 42 inches on the stove side so the oven door can open fully without hitting the island edge.
This is one of the most popular kitchen layout ideas for mid-size kitchens between 120 and 200 square feet.
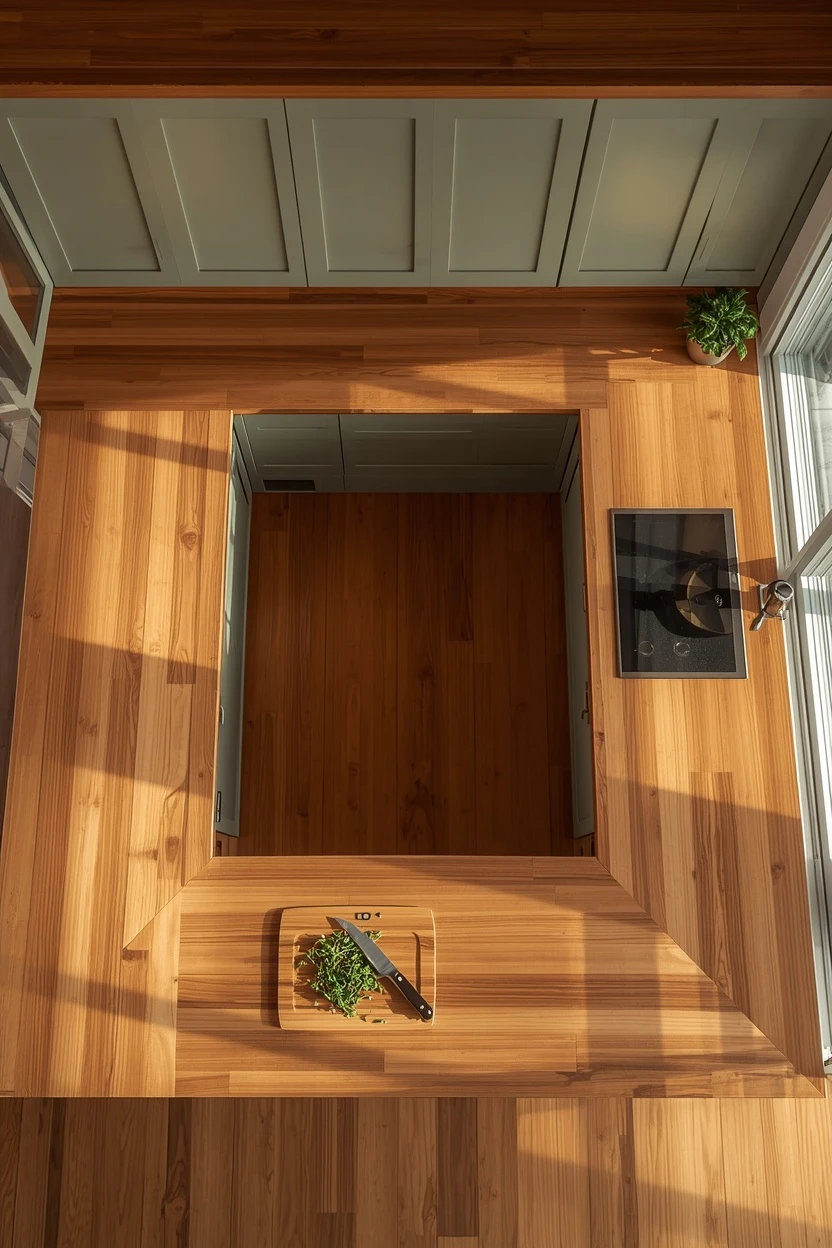
9. Parallel Galley with a Central Dining Runway
A wider variation of the standard galley places two counter runs far enough apart — six to eight feet — to fit a narrow dining table or a counter-height eating bar down the center of the corridor. The table doubles as overflow prep space during heavy cooking and a proper eating surface the rest of the time. This layout demands a room at least 12 feet wide, but the result is a kitchen that incorporates dining without needing a separate room or an island.
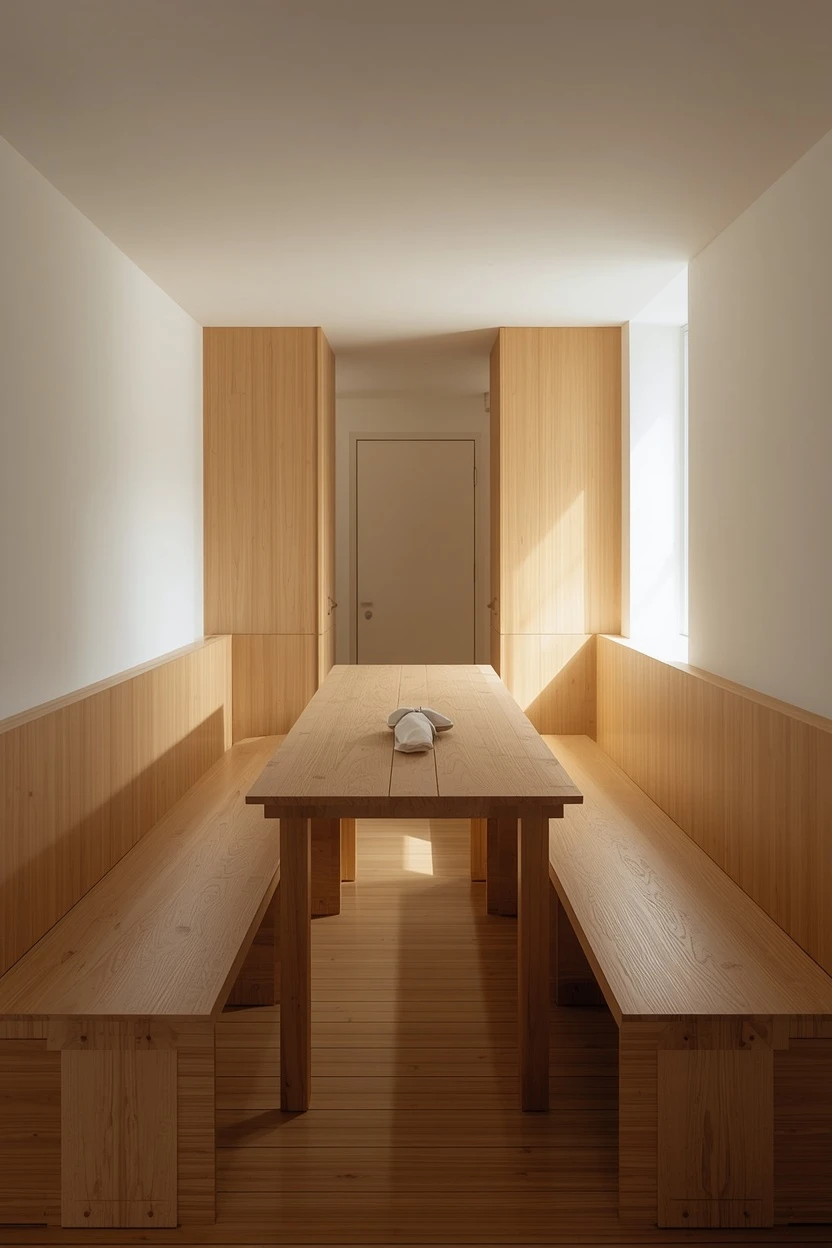
Choose a table no wider than 30 inches so diners can push their chairs back without blocking the counter walkway. The parallel layout keeps all plumbing and electrical on the two side walls, which simplifies renovation costs compared to moving services to a central island.
10. G-Shape Kitchen Wrapping Three-and-a-Half Walls
The G-shape extends the U-shape by adding a partial fourth wall — a short peninsula or return that curves back from one arm of the U. This additional counter run gives you the most continuous workspace of any residential layout, which is a major advantage for bakers and anyone who regularly has multiple dishes in progress.
The partial fourth wall also creates a natural pass-through counter for serving food to an adjacent dining area. Keep the opening of the G at least 42 inches wide so it does not restrict traffic into and out of the kitchen.
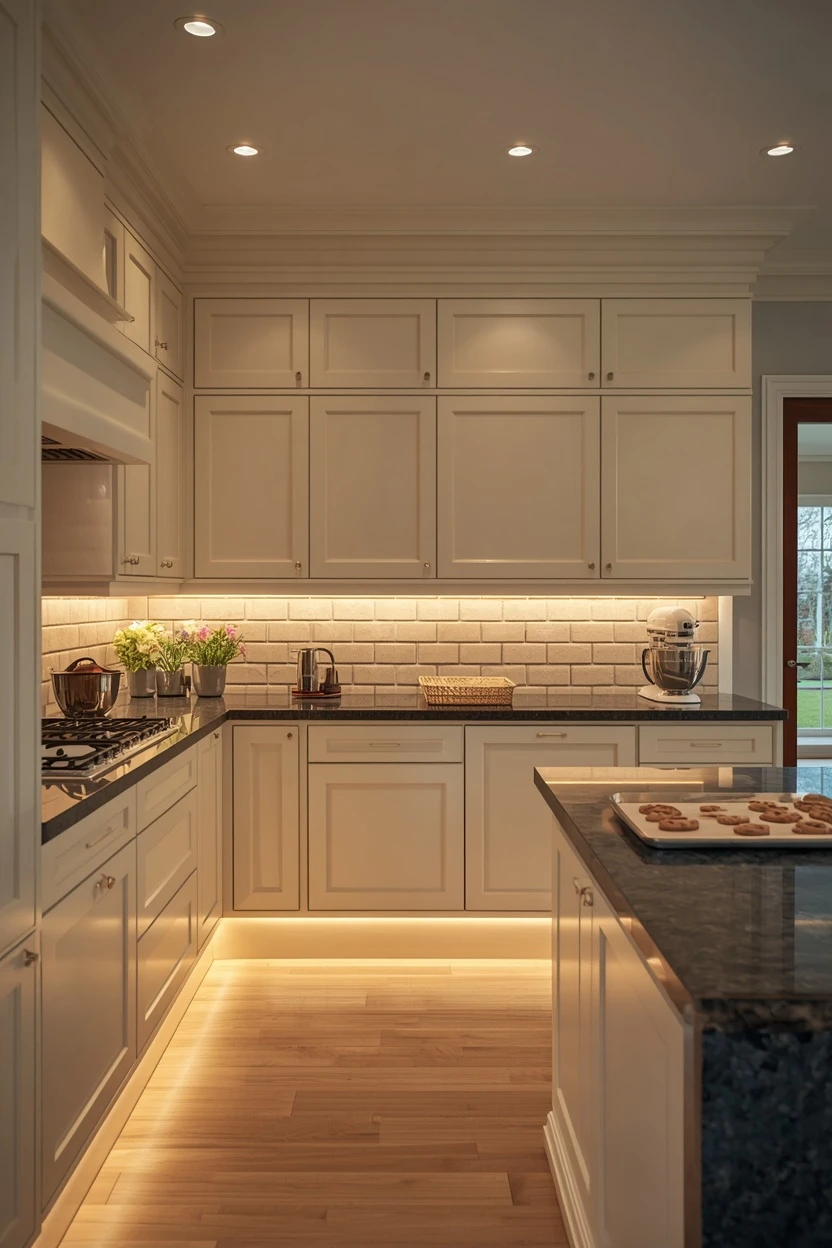
The G-shape can overwhelm small rooms, so reserve it for kitchens with at least 100 square feet of floor space after accounting for the peninsula footprint.
11. Compact One-Wall with a Fold-Down Extension
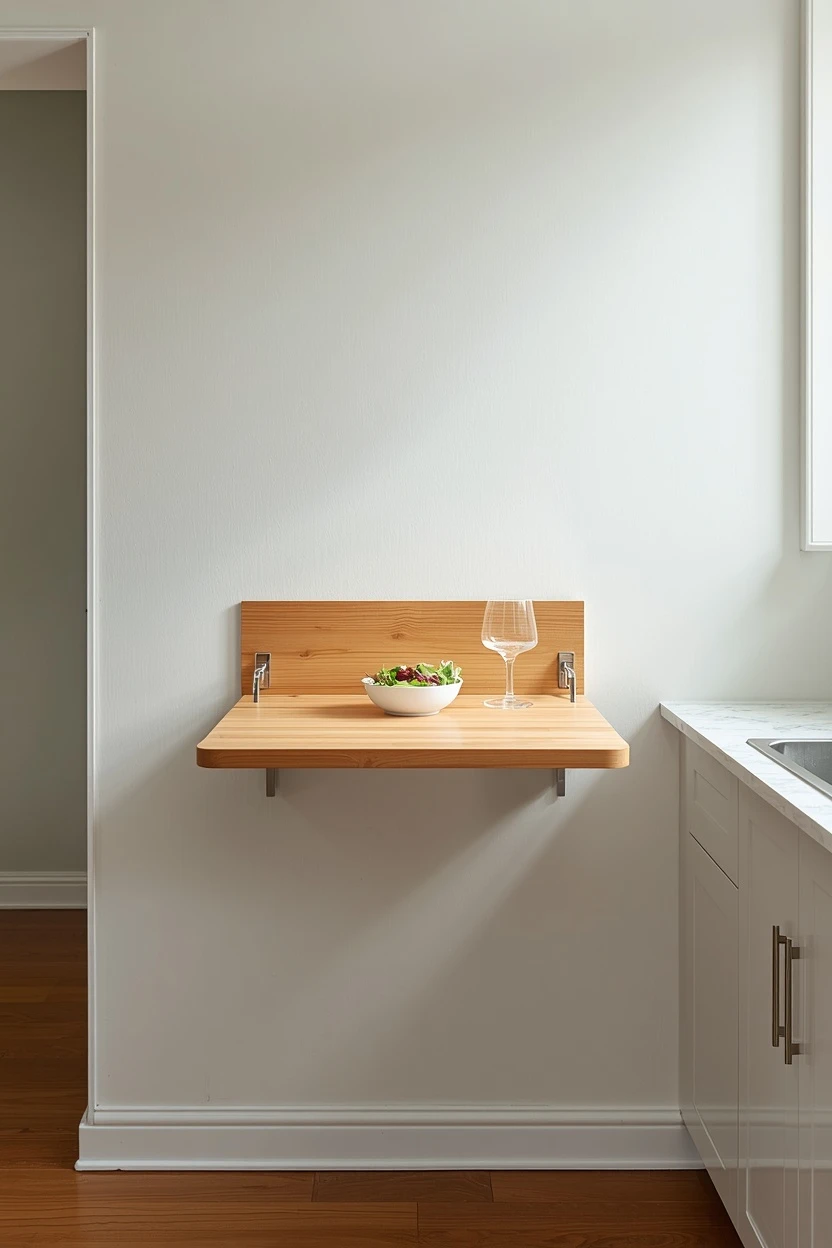
When a full rolling cart is too bulky and a permanent island is not an option, a wall-mounted fold-down table or counter extension adds temporary workspace that stows flat when you are done. Mount it at the end of a single-wall kitchen or on the facing wall so it creates a mini peninsula when deployed. Standard fold-down brackets support up to 50 pounds, which is plenty for a cutting board, a mixing bowl, and a few ingredients. Choose a surface material that matches or complements the main counter — butcher block against quartz, or laminate against laminate — so it reads as part of the kitchen rather than an afterthought. This is the most budget-friendly kitchen layouts ideas solution for adding counter space in rentals where permanent modifications are off the table.
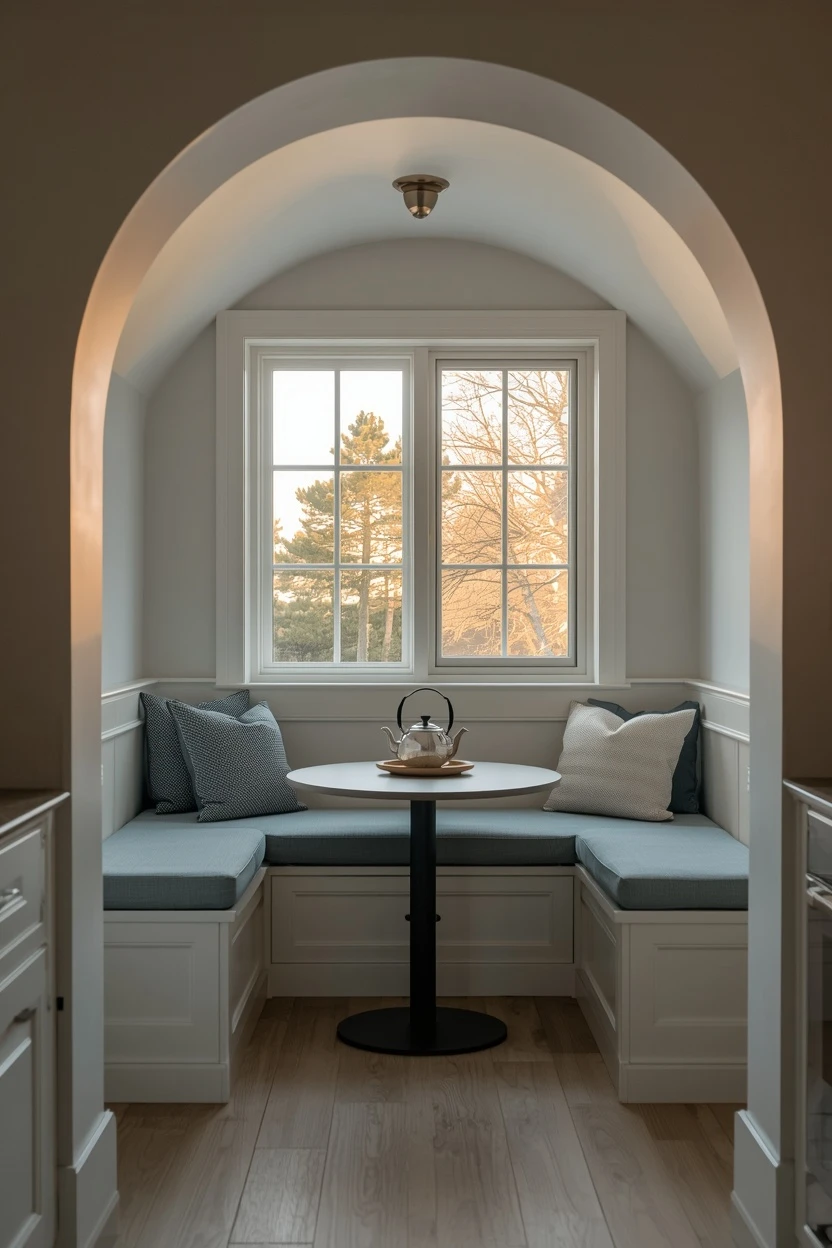
12. Horseshoe Layout with a Built-In Banquette Nook
A horseshoe layout — essentially a U-shape with a built-in bench seat tucked into one arm — merges the kitchen and eating area into a single compact footprint. The banquette nook claims the space beneath a window or against one wall, and the bench seating uses far less floor area than freestanding chairs around a table. Build the bench with a hinged lid so the seat doubles as storage for table linens, seldom-used appliances, or baking supplies. This layout is a strong match for square kitchens between 100 and 130 square feet where a traditional dining table would block traffic.
Use the wall above the banquette for open shelving or artwork to define the eating zone as visually separate from the cooking zone even though they share the same room.
13. Open Kitchen Layout Flowing Into a Living Dining Zone
An open-plan kitchen that shares its space with the living and dining area needs a layout that defines the cooking zone without building barriers. A long island or peninsula positioned perpendicular to the main counter wall acts as the visual divider — the kitchen side faces the stove and sink, while the opposite side offers bar seating and faces the living room. Run the flooring continuously across the entire space to reinforce the open flow, and use lighting changes rather than physical walls to signal the zone transitions.
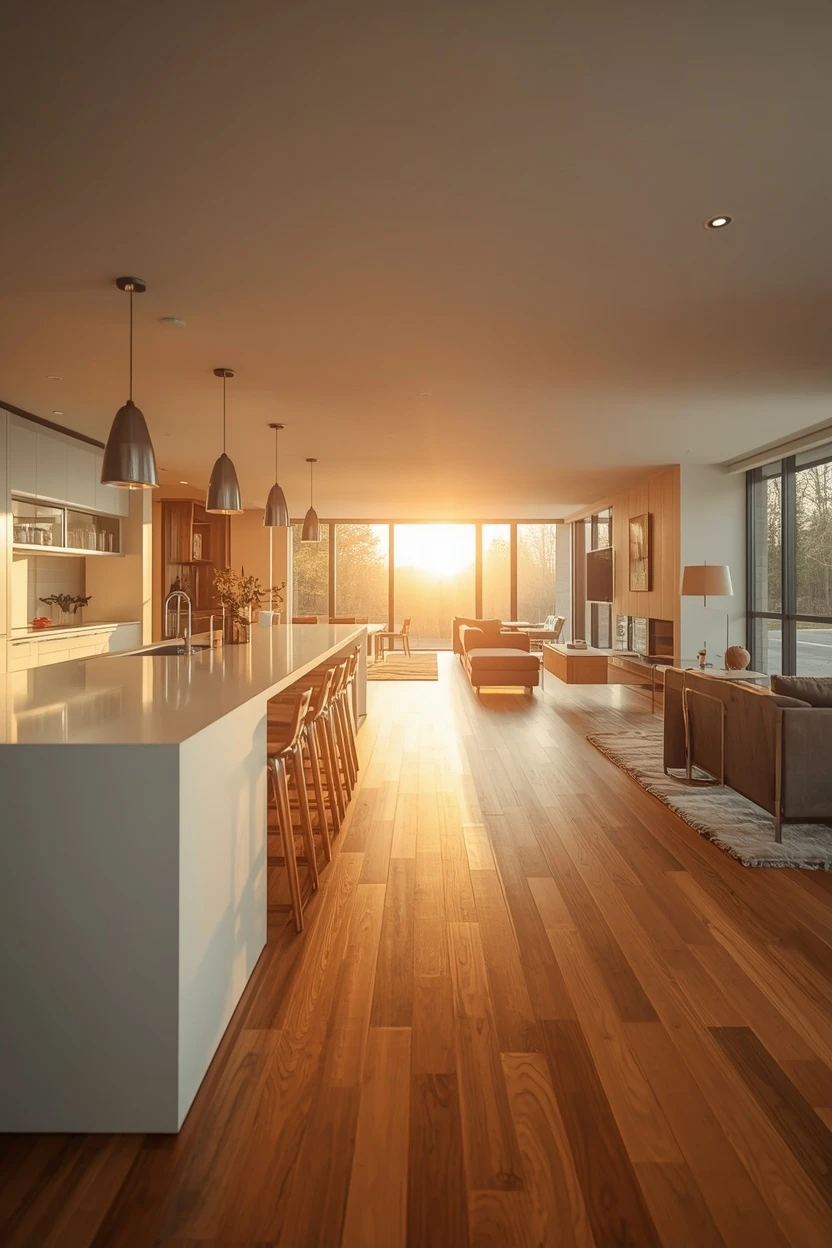
The critical measurement is the island-to-counter clearance: keep it at 42 to 48 inches so two people can pass comfortably during a dinner party. Open layouts expose every part of the kitchen to the adjacent room, so plan closed storage or appliance garages to keep visual clutter under control.
14. T-Shape Island for Multi-Cook Kitchen Plans
A T-shaped island — a standard rectangular island with a perpendicular arm extending from one end — creates two distinct workstations on a single piece of furniture. One cook handles the main island surface for chopping and plating while the second uses the T-arm for mixing, rolling dough, or staging side dishes. The T-arm also doubles as a bar counter with stools on the outer side when it is not being used for prep.
This is one of the most underused kitchen plan ideas for households where two adults cook together regularly. Size the main island at least five feet long and the T-arm at least three feet to give each zone meaningful workspace.
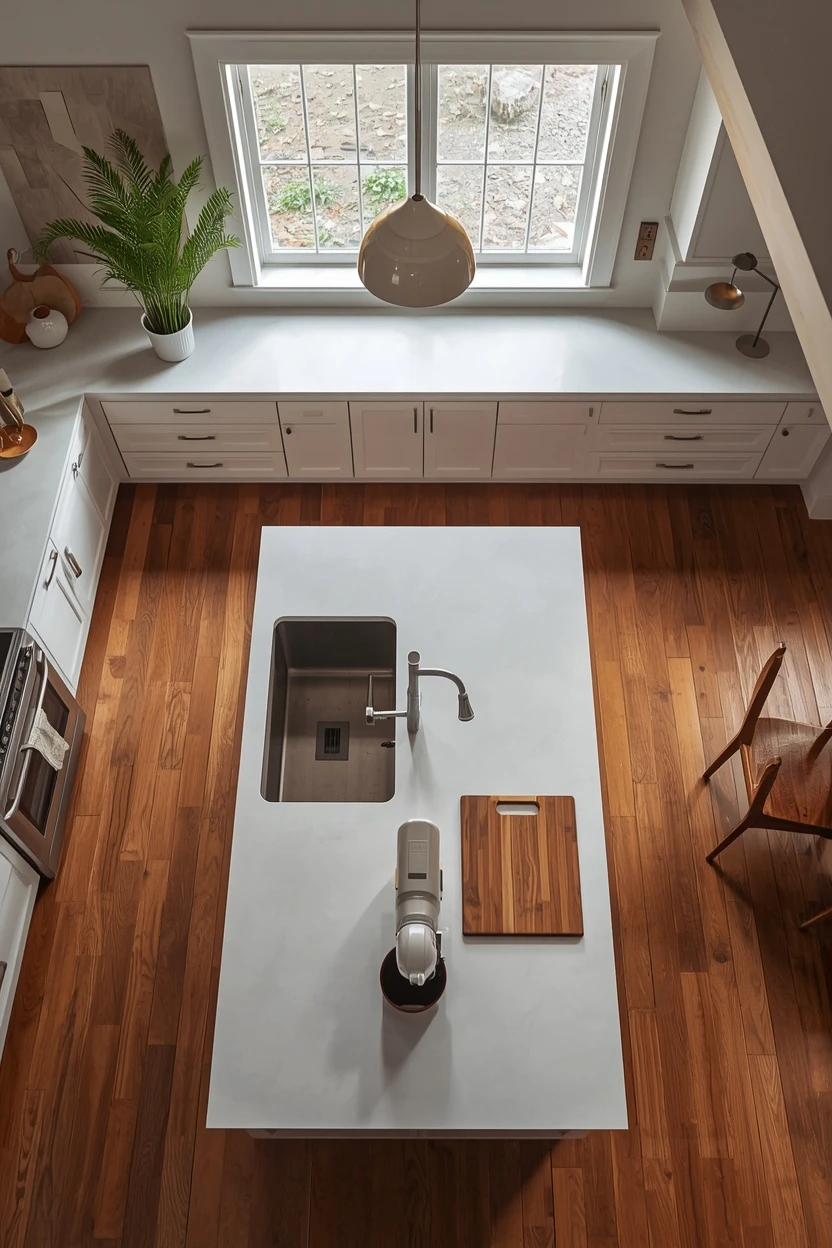
The T-shape requires a kitchen at least 14 feet wide to accommodate the added footprint plus clearances.
15. Corridor Kitchen with Pocket Doors at Both Ends
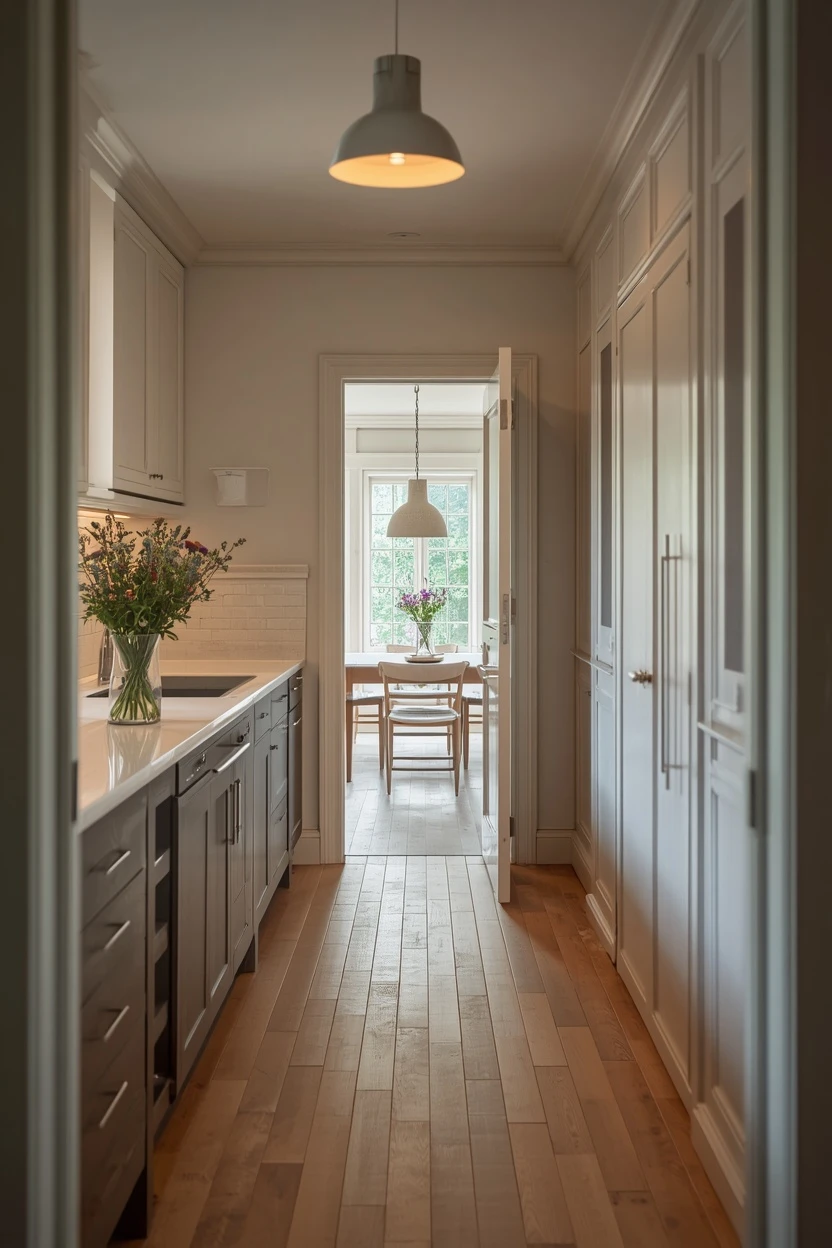
A corridor kitchen — a galley with through-traffic at both ends — gains flexibility and acoustic separation when you install pocket doors or barn-style sliders at each opening. Close the doors when you want to contain cooking noise and odors, and open them wide when you want the kitchen to breathe into the adjacent rooms. Pocket doors slide completely into the wall so they consume zero floor space when open, which is critical in a narrow corridor where every inch matters. This layout suits homes where the kitchen sits between a hallway and a dining room and currently has open doorways on both ends. The renovation cost is modest: a pocket door kit, a framed wall pocket, and a few hours of carpentry. The result is a galley that can operate as a private cooking studio or an open passageway depending on the moment.
Where I’d Start if I Only Did Three Things
If I only did three things, I would start by taping the outlines of my counters, island, and appliances on the floor using painter’s tape and then physically walking my morning coffee-to-breakfast routine to see where the bottlenecks appear — no floor plan software replaces that five-minute exercise. Next, I would measure the clearance between every counter edge and opposing surface and confirm nothing falls below 42 inches, because tight clearances ruin even the prettiest layout once real cooking starts. Third, I would position the fridge nearest the main entry so groceries go straight from the bag to the shelf without crossing the active cooking zone — a small routing decision that saves thousands of unnecessary steps over the life of the kitchen.
Frequently Asked Questions
What are the best kitchen layout ideas for small spaces?
A galley layout or a single-wall kitchen with vertical storage are the two strongest options for small spaces because they consolidate everything along one or two walls and leave the center clear for movement. Adding a fold-down counter or a slim rolling cart gives you temporary prep surface without permanently eating into the floor area. Avoid forcing an island into a kitchen that cannot provide 36 inches of clearance on all sides — it will block traffic and make the room harder to use.
How much clearance do I need between a kitchen island and the counter?
A minimum of 36 inches is required by most building codes, but 42 to 48 inches is the practical target for a kitchen where two people cook at the same time. That wider clearance lets one person open the oven door or the dishwasher without blocking the walkway. If your room cannot provide at least 42 inches, a peninsula attached to the counter is usually a better use of space than a freestanding island.
Is the kitchen work triangle still relevant?
The triangle remains a useful starting framework, especially for single-cook kitchens under 150 square feet. In larger or multi-cook kitchens, zone-based planning — where the kitchen is divided into prep, cooking, cleaning, and storage areas — tends to perform better because it accommodates multiple people moving through the space simultaneously. The triangle is a guideline, not a rule: use it to check distances and then adjust based on how you actually cook.
Can I change my kitchen layout without moving plumbing?
Keeping the sink and dishwasher in their current positions and rearranging everything else around them is the most cost-effective approach. The stove, fridge, and storage can typically move to any wall with standard electrical outlets. If you want to relocate the sink, expect to budget for a plumber to extend the supply and drain lines, which can add several hundred to a few thousand dollars depending on the distance and the floor construction.
Final Thoughts
Strong kitchen layout ideas start with your body in the room — how far you reach, how many steps you take, and whether two people can stand side by side without bumping elbows. Every layout on this list solves a different spatial problem, from narrow galley corridors to wide open-plan entertaining spaces, and the right one depends on your room dimensions, your cooking habits, and how many people share the kitchen daily. Tape it out on the floor, walk the path, and let the routine tell you which shape makes sense before you commit to tearing anything out.

zarcoyt2025
Khawar Iqbal is the founder and editor of Cozy Homes Hub. He writes about cozy, livable home decor — from small-apartment layouts to room-by-room styling guides — with a focus on warm palettes, layered lighting, and budget-friendly ideas that actually work in real homes.
Related Articles
14 Kitchen Track Lighting Ideas for a Modern Upgrade
The biggest mistake people make with kitchen track lighting is treating it as a cheap workaround for missing recessed cans. That outdated…
Read more →
16 Kitchen Light Fixture Ideas That Transform Any Space
Walk into any well-designed kitchen and the first thing that pulls your eye upward is the light fixture. It anchors the entire…
Read more →
12 Kitchen Configuration Ideas for Smarter Everyday Use
The reason a kitchen configuration matters more than its shape is that two kitchens with the exact same L-shape floor plan can…
Read more →