12 Kitchen Configuration Ideas for Smarter Everyday Use
 By zarcoyt2025
Table of Contents
- 1. Zone-Based Kitchen Configuration with Wet-Dry-Hot Areas
- 2. Two-Cook Configuration with Mirrored Prep Stations
- 3. Baker’s Kitchen Configuration with a Lowered Counter
- 4. Coffee-Bar Niche Built Into Dead Corner Space
- 5. Appliance Garage Configuration That Hides Countertop Clutter
- 6. Walk-In Pantry Hub Replacing Upper Cabinets
- 7. Open Shelving Mixed with Closed Storage at Strategic Heights
- 8. Pet-Friendly Configuration with a Built-In Feeding Station
- 9. Homework and Meal-Prep Dual Counter Arrangement
- 10. Accessible Kitchen Configuration with Varied Counter Heights
- 11. Minimal-Upper Configuration Using Floor-to-Ceiling Tower Units
- 12. Outdoor-Connected Configuration with a Servery Window
- Where I’d Start if I Only Did Three Things
- Frequently Asked Questions
- Final Thoughts
The reason a kitchen configuration matters more than its shape is that two kitchens with the exact same L-shape floor plan can function completely differently depending on where the zones sit. Kitchen configuration ideas are about the internal arrangement — which station goes where, how storage groups around each task, and whether the path from fridge to counter to stove flows or stutters. Getting the configuration right often costs nothing beyond rethinking what lives in each cabinet and where the small appliances land, which means you can upgrade how a kitchen works without ripping out a single wall.
I think of configuration as the software layer on top of the hardware of your layout. The walls, plumbing, and electrical are fixed infrastructure. The configuration — your zone assignments, counter allocations, and storage groupings — can shift anytime you are willing to reorganize. These twelve ideas cover practical ways to reconfigure a kitchen for better daily performance, whether you are planning a renovation or simply rearranging what you already have.
1. Zone-Based Kitchen Configuration with Wet-Dry-Hot Areas
Dividing the kitchen into three primary zones — wet (sink and dishwasher), dry (pantry and food storage), and hot (range, oven, and microwave) — and grouping every related item within arm’s reach of its zone is the most effective kitchen configuration ideas principle you can apply. Store dish soap, sponges, colanders, and drying racks within the wet zone. Group oils, spices, oven mitts, and pans around the hot zone.
Stack dry goods, mixing bowls, and measuring cups near the dry pantry zone. This eliminates the constant cross-kitchen walks that waste time and energy during meal prep.
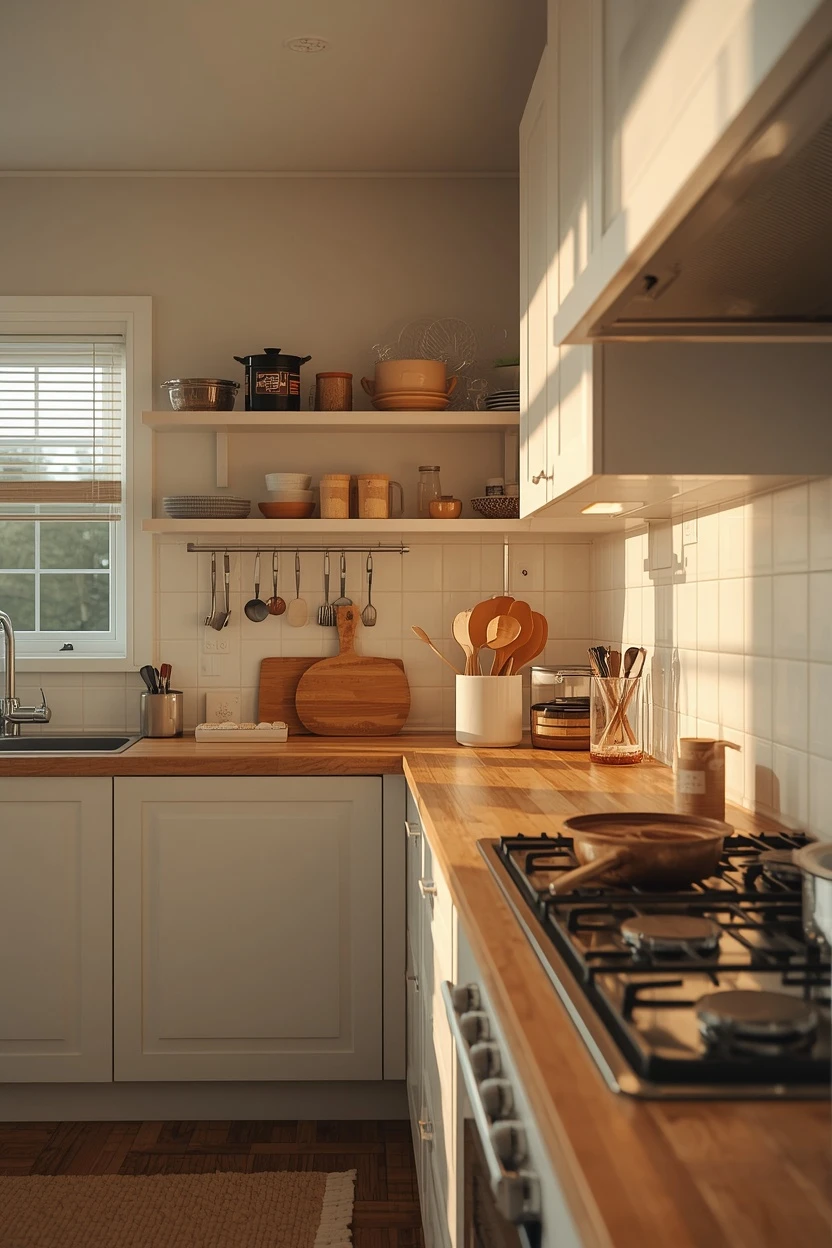
Test the zones by cooking a complete meal and counting how many times you walk outside your primary station — if the number is above five, something is stored in the wrong zone.
2. Two-Cook Configuration with Mirrored Prep Stations
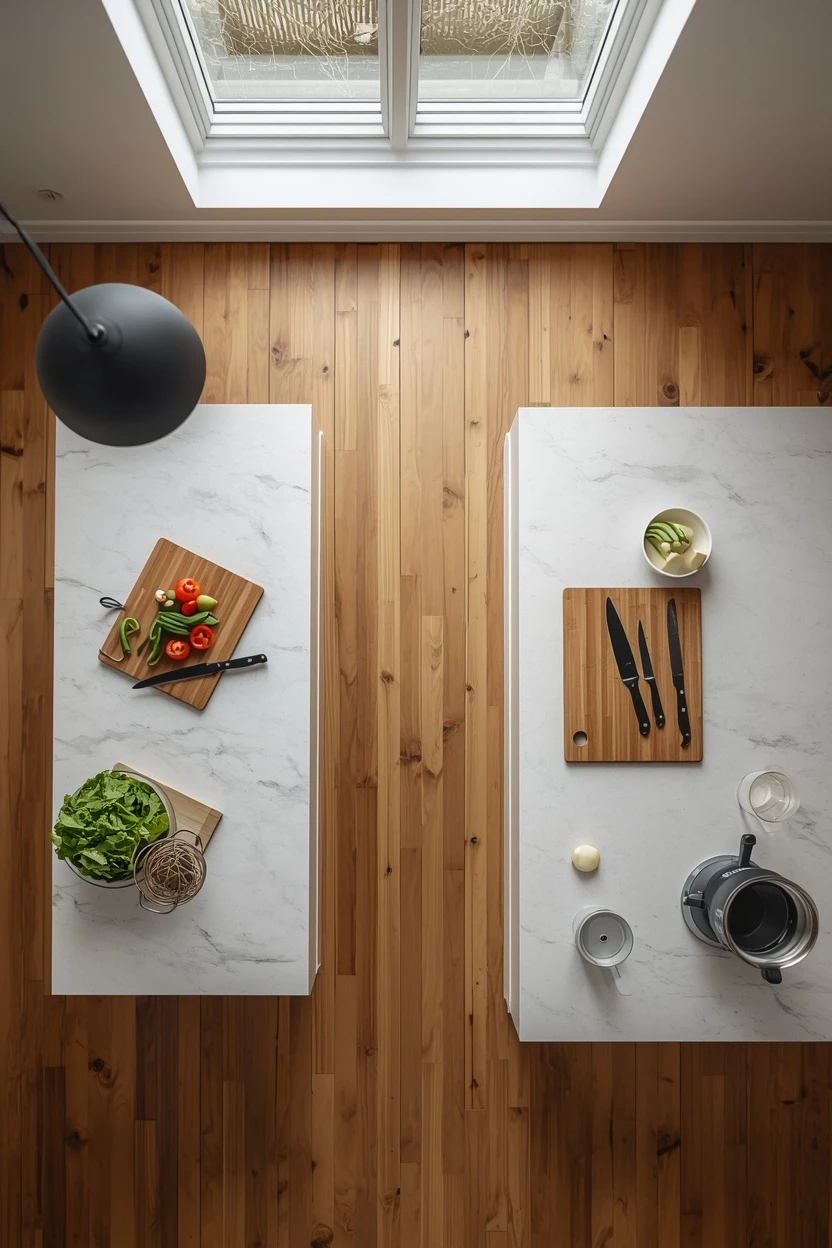
If two adults regularly cook at the same time, mirroring the essential tools at two separate stations prevents the constant reach-around-each-other problem that plagues single-station kitchens. Each station gets its own cutting board, knife set, small trash bowl, and landing space. Position the stations at least four feet apart — one on the island and one on the perimeter counter — so both cooks have elbow room and their own access to a water source. This does not require duplicating every gadget, just the items both cooks reach for simultaneously during the overlap period of a meal.
The investment is minimal: a second set of mid-range knives, a second cutting board, and two dedicated counter zones. The result is a kitchen that supports teamwork instead of creating conflict.
3. Baker’s Kitchen Configuration with a Lowered Counter
Serious bakers benefit from a dedicated corner or counter section set two to four inches lower than the standard 36-inch height. The lower surface provides better leverage for kneading dough, rolling pastry, and working with heavy stand mixers. Position this corner away from the stove so flour dust and hot oil stay separated. Store baking-specific supplies — flour, sugar, vanilla, baking sheets, rolling pins — in the drawers and cabinets immediately surrounding the lowered section so everything is within reach without crossing the room.
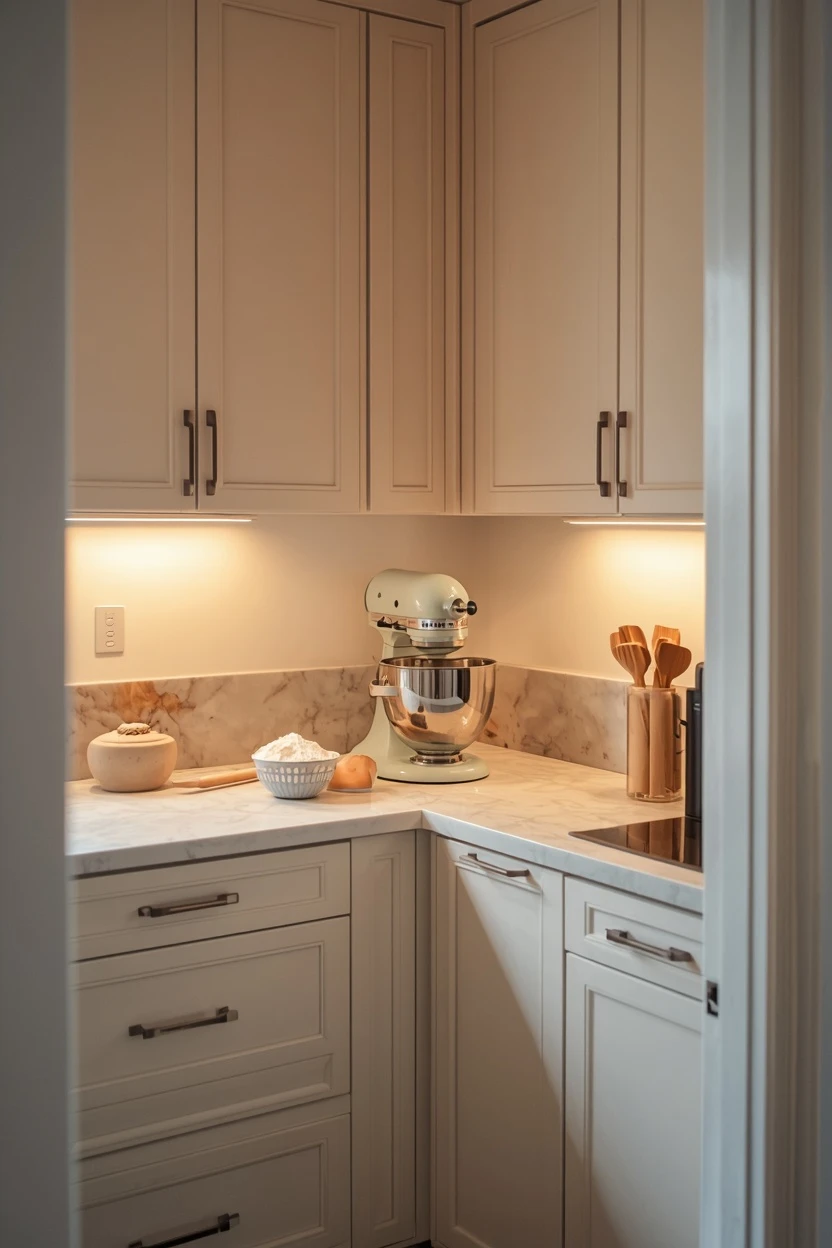
A marble or granite inset at this section stays naturally cool, which is a genuine advantage for butter-based pastry work. This kitchen configuration turns a generic counter into a purpose-built baking station that performs noticeably better than working at standard height.
4. Coffee-Bar Niche Built Into Dead Corner Space
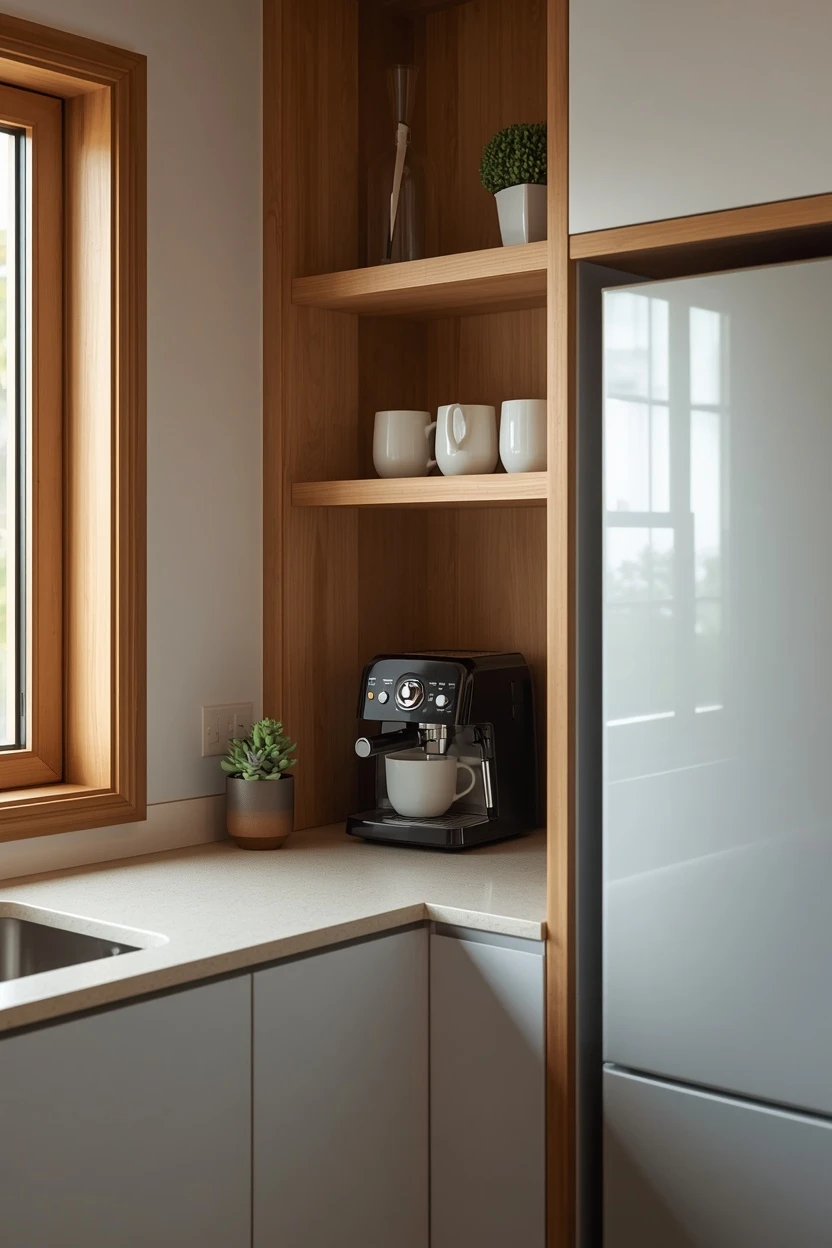
That awkward corner where two counter runs meet or the narrow gap beside the fridge is the ideal spot for a self-contained coffee station. Mount a small shelf above for mugs, install a single outlet if one is not already there, and dedicate the counter surface to the coffee maker, grinder, and a small tray for sugar and spoons. Pulling the coffee routine out of the main workspace clears counter space for cooking and gives the morning ritual its own designated spot that stays set up permanently. The niche also keeps water splashes and coffee grounds contained to one area rather than spreading them across your primary prep surface. This is a low-cost rearrangement that makes a disproportionate difference in how organized the kitchen reads on a daily basis.
5. Appliance Garage Configuration That Hides Countertop Clutter
An appliance garage — a cabinet with a roll-up, flip-up, or sliding door mounted at counter level — conceals toasters, blenders, and stand mixers behind a closed front while keeping them plugged in and ready to use. The door lifts or slides open, you use the appliance, and everything tucks away again in seconds. This configuration trick transforms cluttered countertops into clean surfaces without the hassle of unplugging and storing appliances in a deep cabinet after every use.
Build the garage at least 18 inches deep and 24 inches wide to fit most standard countertop appliances. Install an outlet strip inside the garage so cords stay hidden and plugged in permanently.
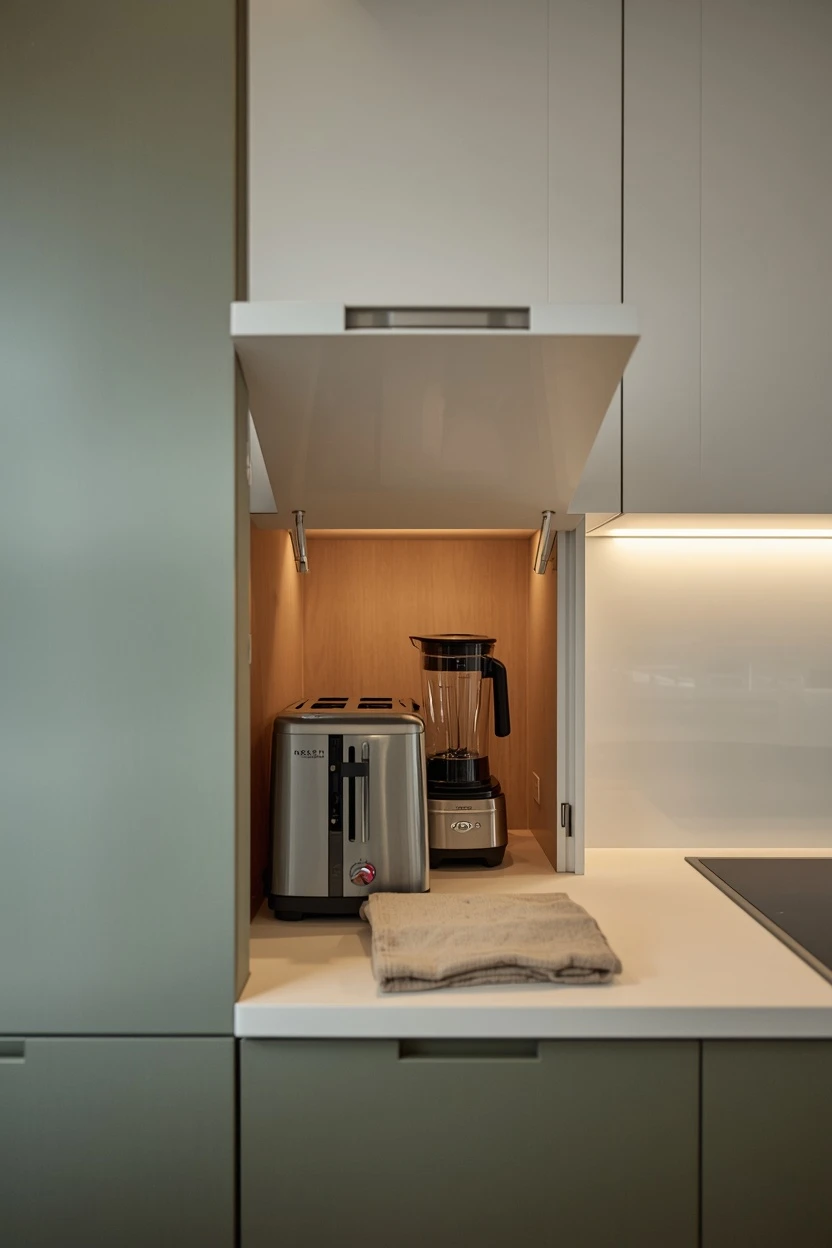
The only watch-out is ventilation: if you plan to run a toaster oven inside the garage, choose a door that stays open during operation so heat does not build up against the cabinet interior.
6. Walk-In Pantry Hub Replacing Upper Cabinets
Removing upper cabinets from one wall and converting an adjacent closet or carving out a shallow alcove into a walk-in pantry consolidates all dry storage into a single destination. The freed wall space above the counter becomes available for open shelving, a window, or simply breathing room that makes the kitchen look and operate larger. Inside the pantry, install adjustable shelving on three walls with clear bins or labeled containers so you can see inventory at a glance.
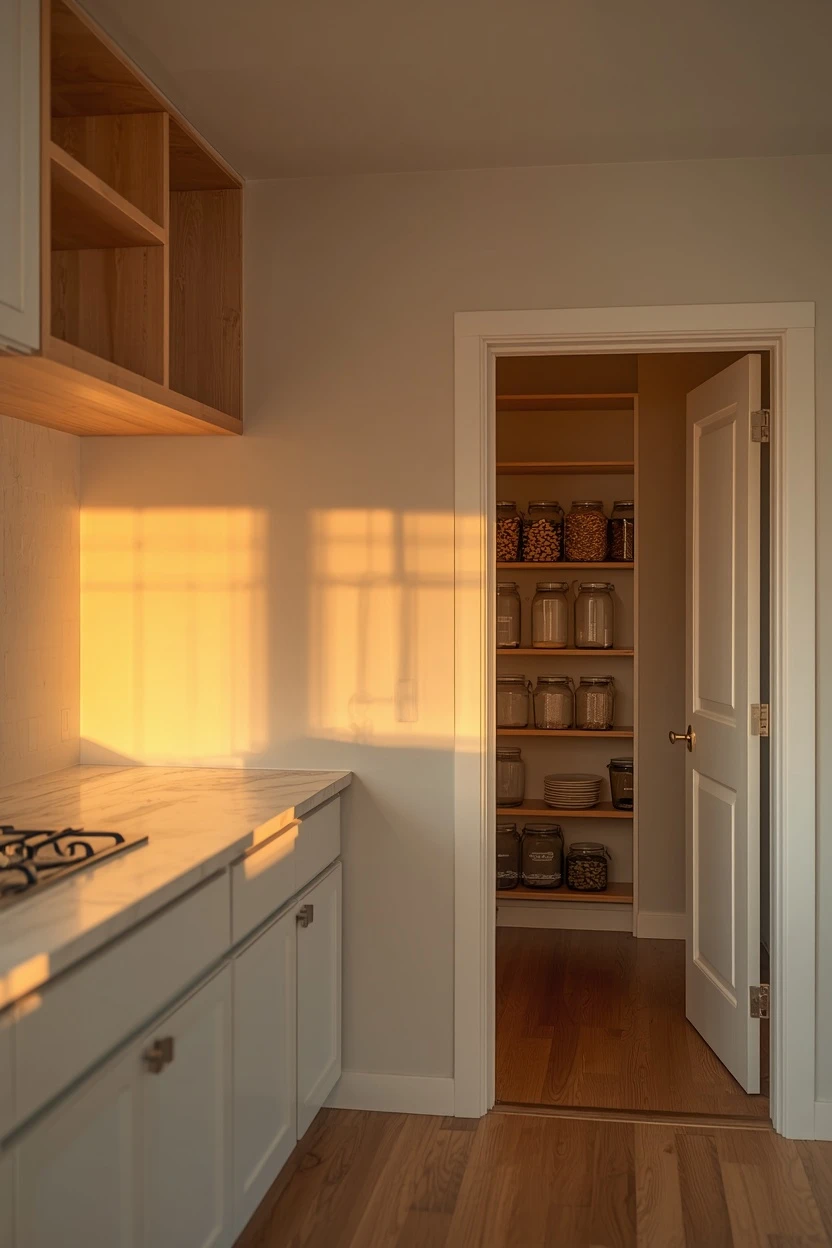
Place everyday items — snacks, cereal, cooking oils — at eye level and reserve the top and bottom shelves for bulk storage and rarely used items. A walk-in pantry changes the configuration by centralizing the dry zone into one room rather than scattering it across six or eight individual cabinets throughout the kitchen.
7. Open Shelving Mixed with Closed Storage at Strategic Heights
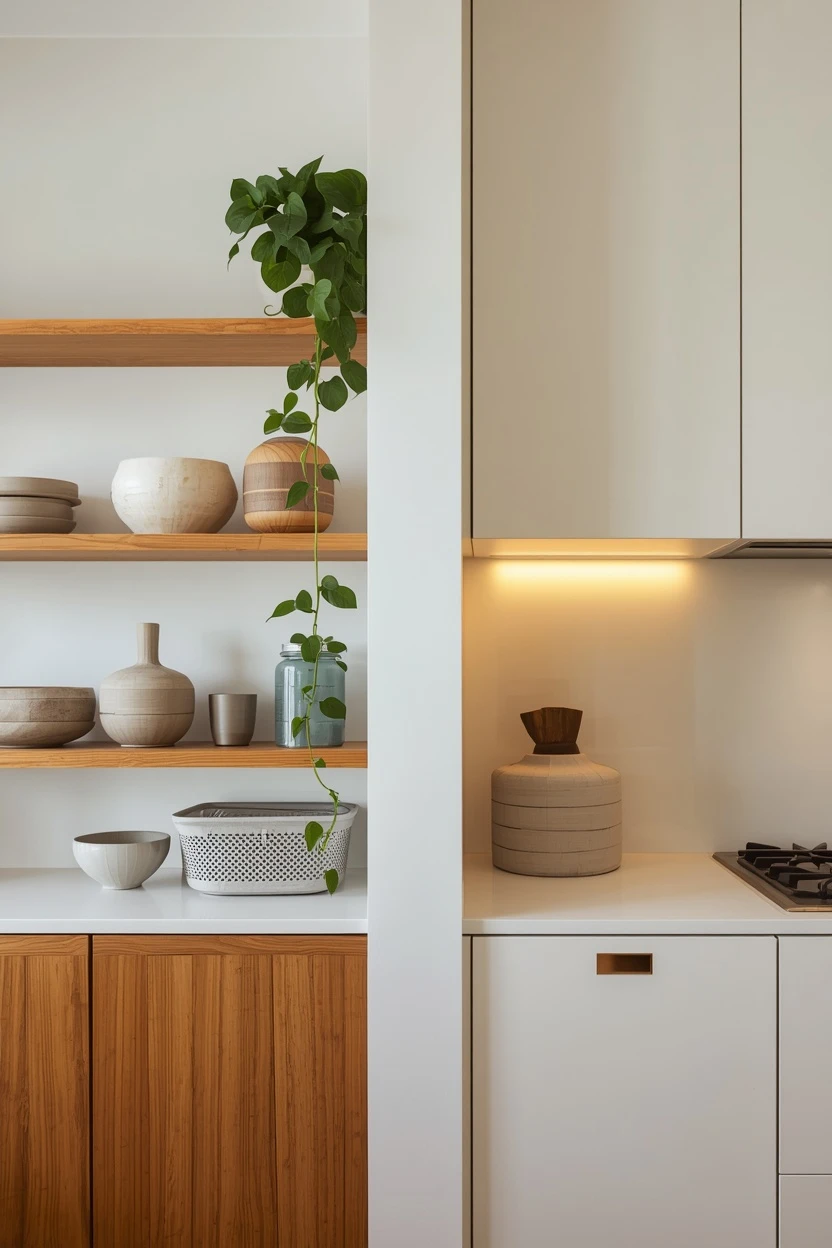
Replacing all upper cabinets with open shelving looks great in photos but creates dust and grease problems near the stove. A smarter configuration uses open shelves in the low-traffic zones — away from the range and above the coffee station or display wall — and keeps closed cabinets above and beside the cooking area where airborne oils settle. This hybrid approach gives you the airy, curated aesthetic of open storage where it stays clean and the practical protection of closed doors where it matters. Position the open shelves between 54 and 72 inches from the floor for comfortable reach without a step stool.
Store frequently used items like everyday plates and glasses on the open shelves and reserve the closed cabinets for oily cookware and irregular-shaped items that look cluttered on display.
8. Pet-Friendly Configuration with a Built-In Feeding Station
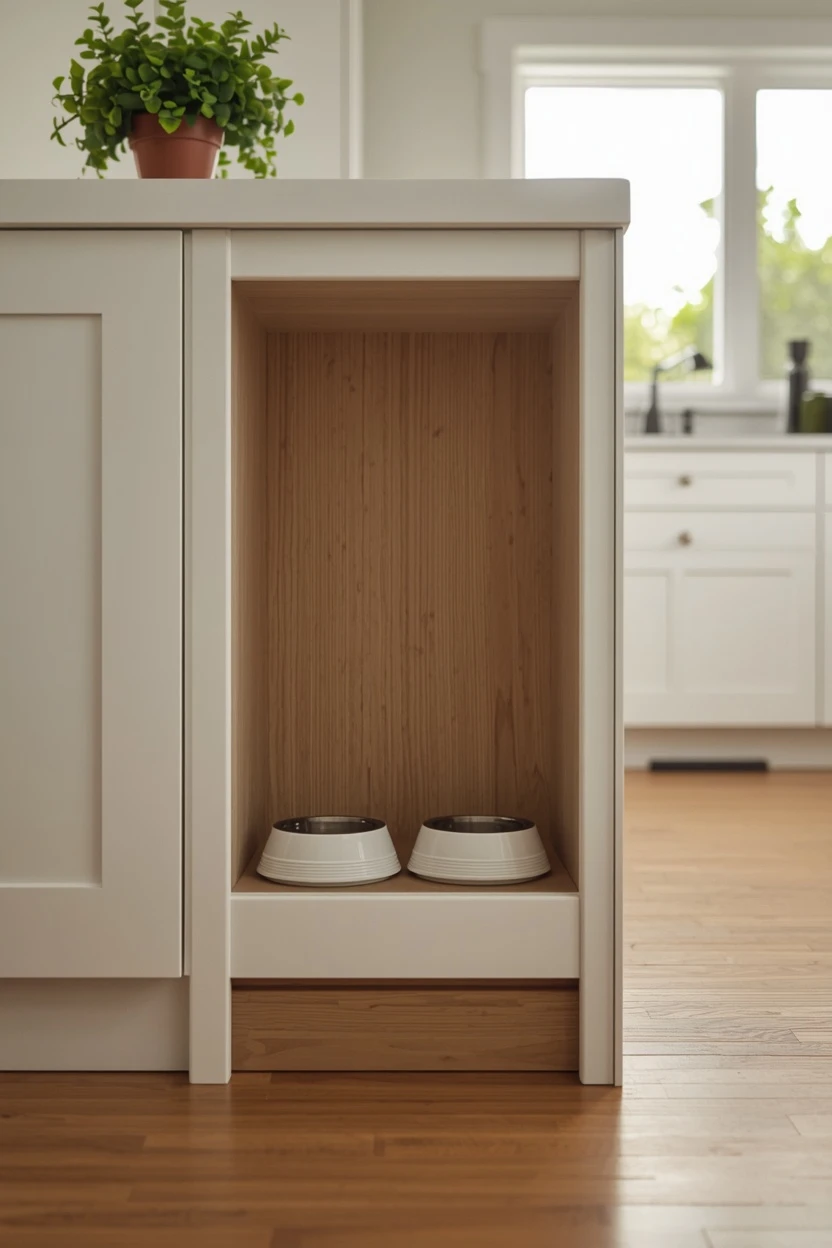
Building a recessed feeding niche into the base of a cabinet run or the island end panel keeps pet bowls off the main floor path where they get kicked, spilled, and tripped over. A simple cutout at floor level — roughly 12 inches wide and 8 inches tall — holds the food and water bowls in a dedicated alcove. Line the niche floor with a removable waterproof tray for easy cleaning. Position it away from the primary traffic lane between the stove and the fridge so neither you nor the pet is in the other’s way during meal time. This small configuration detail costs almost nothing during a cabinet installation but eliminates the daily nuisance of sliding bowls around the kitchen floor. For multi-pet homes, add a second niche on the opposite side of the island to separate feeding stations and reduce competition.
9. Homework and Meal-Prep Dual Counter Arrangement
Families with school-age children often need the kitchen counter to serve double duty as a homework desk during after-school hours and a prep surface during dinner. Configuring the island or a dedicated counter section with a power outlet strip, a small shelf for school supplies, and a task light on a clamp mount creates a temporary study station that converts back to cooking surface in seconds.
Keep a small basket or caddy on the adjacent shelf to corral pencils, notebooks, and chargers so they clear off the counter quickly when cooking begins. Position this dual-use zone at the end of the island farthest from the stove so backpacks and papers stay away from heat and splatter.
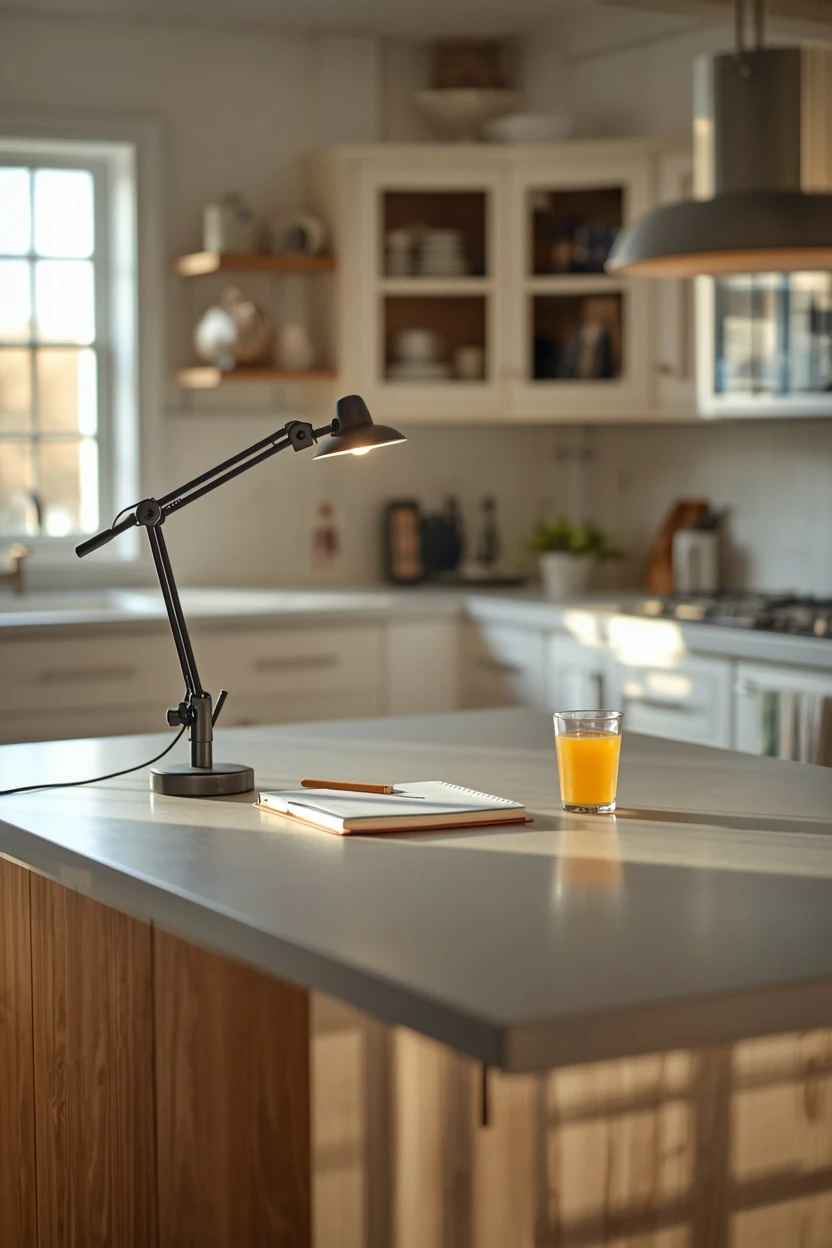
The key is that nothing about the homework configuration needs to be permanent — the caddy lifts off, the clamp light folds away, and the surface is back to prep-ready in under a minute.
10. Accessible Kitchen Configuration with Varied Counter Heights
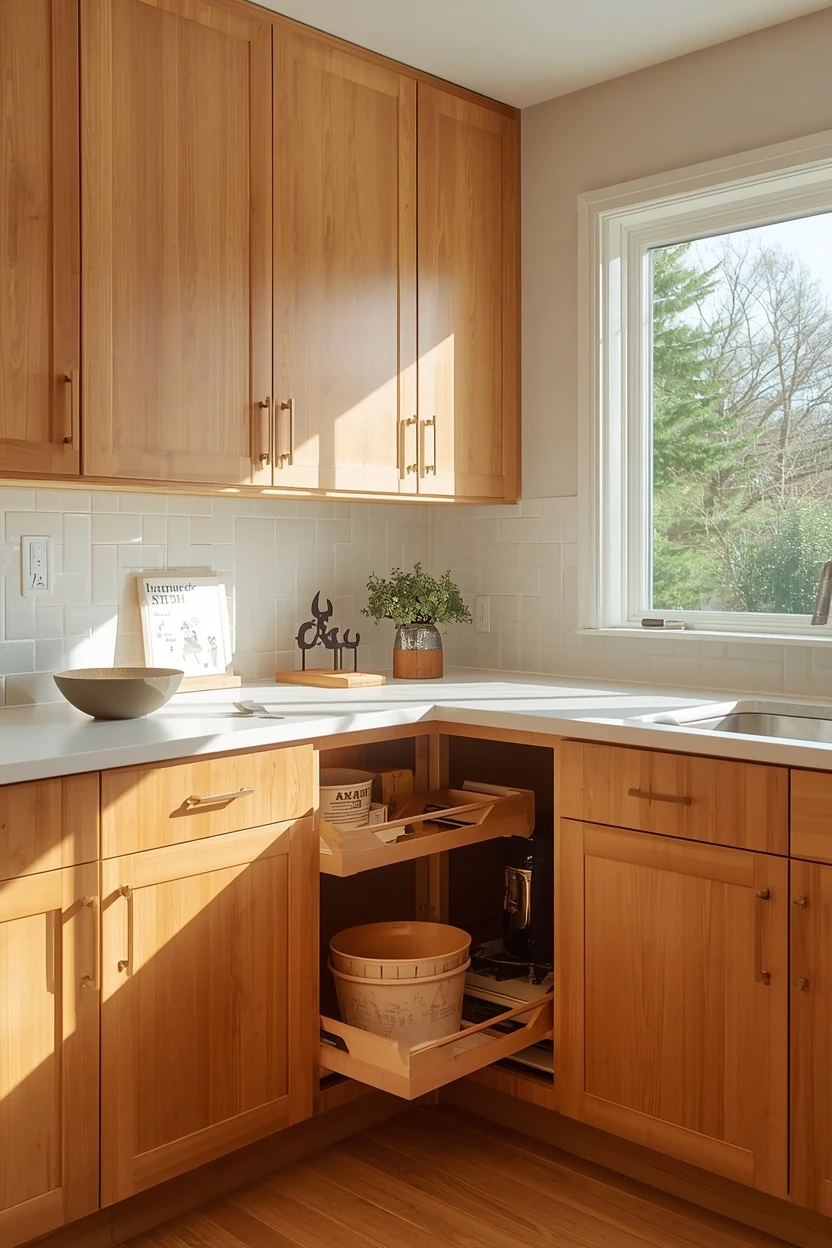
A truly accessible configuration includes at least two different counter heights: the standard 36-inch surface for standing tasks and a 30-to-32-inch section for seated work or wheelchair access. The lowered section is typically placed away from the stove for safety and includes knee clearance underneath so a chair or wheelchair can pull in comfortably. Pull-out shelves in lower cabinets, D-shaped drawer pulls that are easy to grip, and a side-opening oven placed at counter height rather than below-counter level all contribute to a configuration that accommodates a wider range of users.
This is not just an accessibility accommodation — varied counter heights benefit anyone with back pain, shorter adults, children learning to cook, and elderly family members who tire of standing at a single height for extended periods.
11. Minimal-Upper Configuration Using Floor-to-Ceiling Tower Units
Replacing standard upper cabinets with two tall floor-to-ceiling pantry or storage towers — one at each end of the counter run — opens up the middle of the wall for windows, a range hood, or open display while still providing substantial enclosed storage. Each tower houses pull-out trays, adjustable shelves, or a combination of both, and a single tower measuring 24 inches wide by 84 inches tall holds roughly the same volume as six standard upper cabinets. This kitchen configuration idea suits modern and Scandinavian-leaning designs where a clean upper wall is part of the aesthetic.
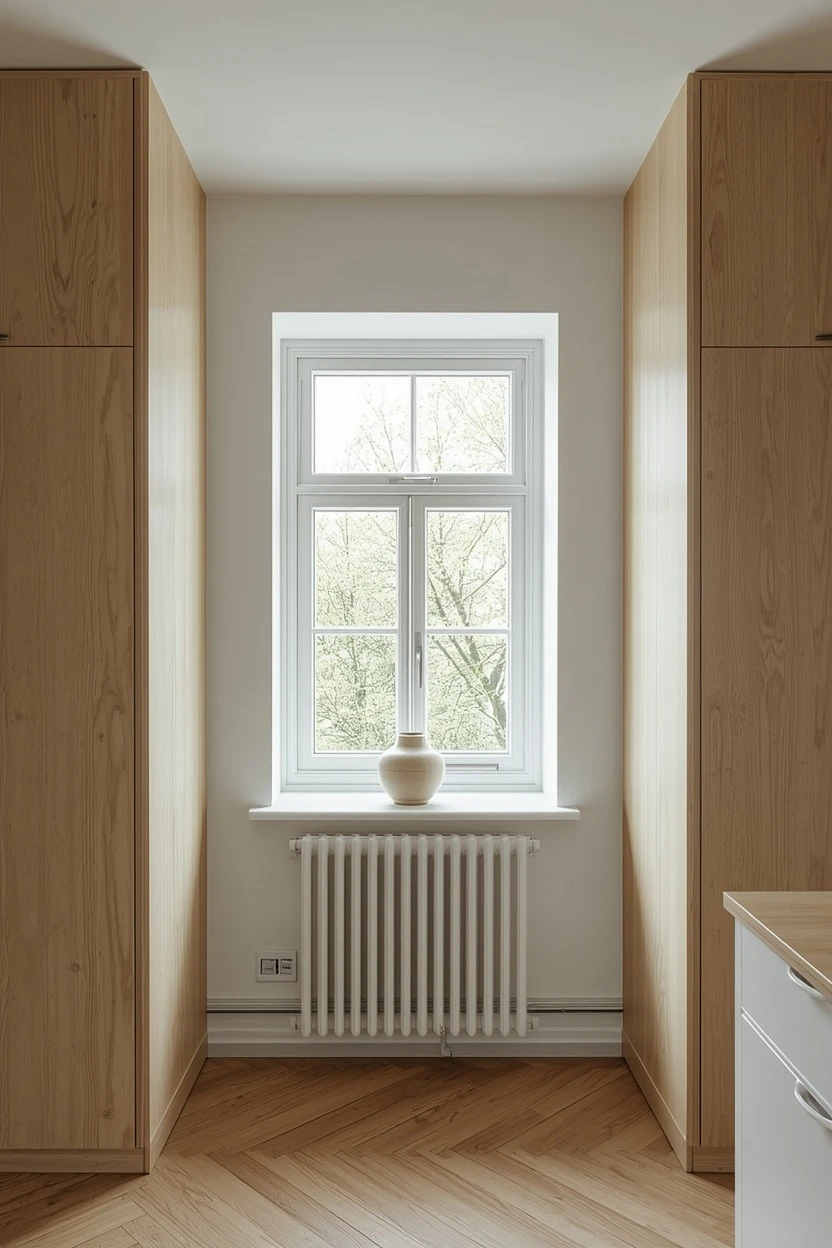
The trade-off is that towers take up floor footprint at the counter ends, so confirm that each tower placement does not block a doorway or narrow a traffic lane below the 36-inch minimum clearance.
12. Outdoor-Connected Configuration with a Servery Window
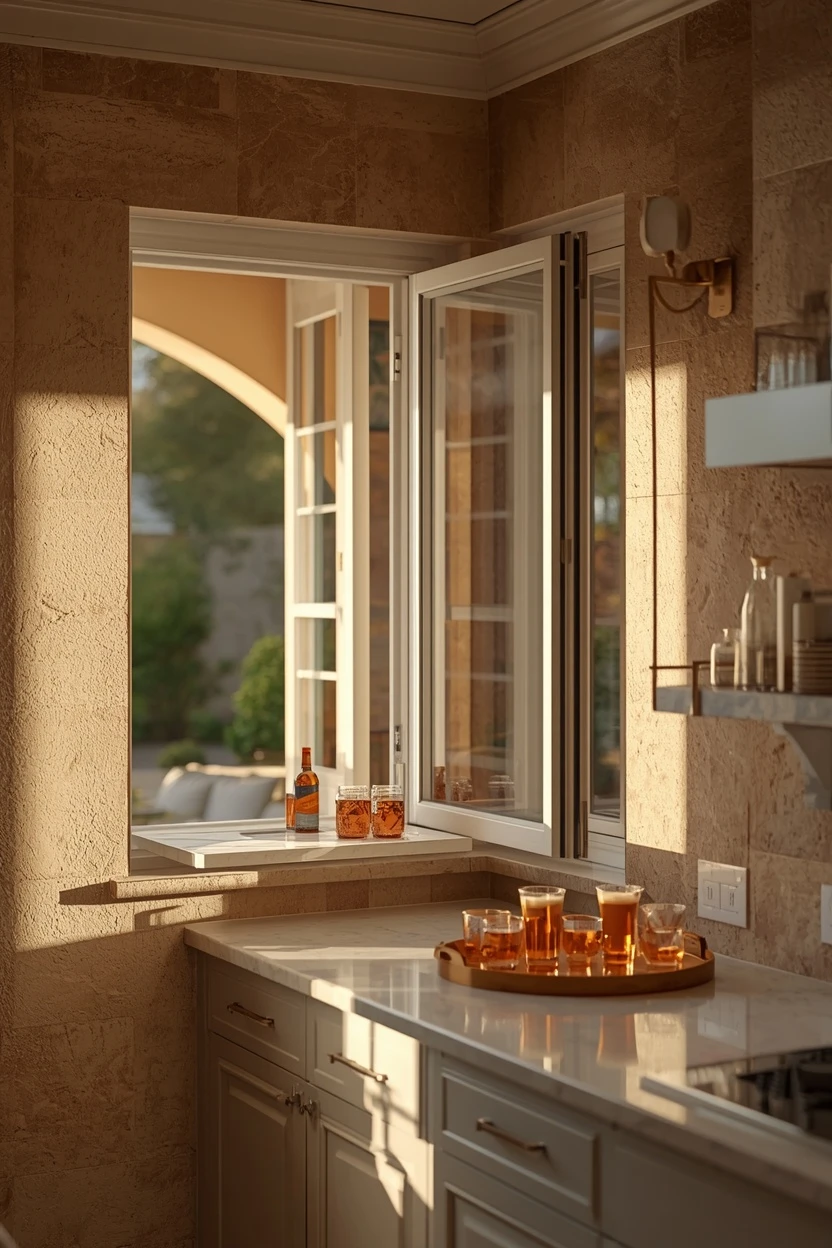
Cutting a servery window or a pass-through counter between the kitchen and an outdoor patio, deck, or screened porch creates a direct serving path that eliminates the back-and-forth trips through doorways during outdoor meals and gatherings. The interior counter on the kitchen side acts as a plating and staging surface while the exterior ledge or fold-down shelf on the outdoor side serves as a bar or buffet. Install a weather-sealed bi-fold or sliding window panel so the opening closes fully when not in use and protects the interior from rain and drafts. Position the servery on the wall nearest the stove or prep zone so finished plates travel the shortest possible distance. This configuration expands the kitchen’s functional footprint into the outdoor living space without adding interior square footage.
Where I’d Start if I Only Did Three Things
If I only did three things, I would start by emptying every cabinet and drawer, grouping items by zone — wet, dry, hot — and then restocking each zone so every tool lives within arm’s reach of where it gets used, which alone cuts prep time noticeably. Second, I would set up a dedicated coffee-bar niche in the most underused corner to free the main counter from the morning clutter pile-up of mugs, spoons, and grounds. Third, I would install a simple roll-up appliance garage on the busiest counter stretch to hide the toaster and blender behind a closed front while keeping them plugged in — it takes the visual noise level down instantly without sacrificing convenience.
Frequently Asked Questions
What are the most practical kitchen configuration ideas for families?
Zone-based storage, a dual-use homework and prep counter at the island end, and a built-in feeding station for pets are three configurations that directly address the daily chaos of a family kitchen. Grouping supplies by task zone cuts search time, the dual counter keeps homework and cooking from colliding, and the pet niche eliminates the tripping hazard of floor bowls in a high-traffic room.
How do I reconfigure a kitchen without renovating?
Start by reassigning what lives in each cabinet based on zones — store items near the station where they are used. Add a rolling cart as a mobile prep island, mount a fold-down shelf for extra counter space, and set up an appliance garage or a coffee niche using the counter and shelves you already have. These changes require zero plumbing, zero electrical, and zero construction.
Is a walk-in pantry better than upper cabinets?
A walk-in pantry centralizes dry storage in one visible location and frees wall space above the counters for windows or open shelving. Upper cabinets distribute storage across several spots, which can mean more steps during cooking but also less reliance on a single closet. The choice depends on whether you prefer a clean wall aesthetic and can spare the floor space for the pantry, or need every wall surface for maximum storage.
What counter height should I use for an accessible kitchen?
Standard counter height is 36 inches for standing use. Adding a section at 30 to 32 inches accommodates seated users, wheelchair access, and anyone who benefits from a lower working surface. Place the lower section away from the stove for safety and include at least 27 inches of knee clearance underneath. Combining both heights in the same kitchen makes the space genuinely usable for a wider range of people and daily situations.
Final Thoughts
The best kitchen configuration ideas treat your kitchen like a set of task stations rather than a single room full of randomly placed cabinets. Reorganizing where things live, adding purpose-built niches for coffee or baking, hiding clutter behind appliance garage doors, and adjusting counter heights to match how your household actually uses the space — these moves transform daily performance without requiring a structural overhaul. Start with the zone test: cook one full meal, count the unnecessary trips, and let those numbers tell you what to reconfigure first.

zarcoyt2025
Khawar Iqbal is the founder and editor of Cozy Homes Hub. He writes about cozy, livable home decor — from small-apartment layouts to room-by-room styling guides — with a focus on warm palettes, layered lighting, and budget-friendly ideas that actually work in real homes.
Related Articles
14 Kitchen Track Lighting Ideas for a Modern Upgrade
The biggest mistake people make with kitchen track lighting is treating it as a cheap workaround for missing recessed cans. That outdated…
Read more →
16 Kitchen Light Fixture Ideas That Transform Any Space
Walk into any well-designed kitchen and the first thing that pulls your eye upward is the light fixture. It anchors the entire…
Read more →
15 Kitchen Layout Ideas That Improve How You Cook
Most kitchen layout ideas start with a shape — L, U, galley — and then try to squeeze your life into that…
Read more →